
Android Frame Layout is one of the simple layout to align user controls in the activity. There are number of layouts provided by android which you can use while developing android application to provide a good structure for your UI components.
Android layouts are used to provide good look and feel to your android applications. Each android layout have a lot of properties that provide visual effects to your android UI components arranged in the activity or in the screen.
Frame Layout
Suppose you may have multiple android UI components within a FrameLayout but each component will be positioned based on the top left of the android activity or your android screen. FrameLayout is mainly designed to display a single item at a time.
The most recent added android UI components are shown on top of the android activity. Hence the order of UI elements used in the layout having importance. For Example, by using android FrameLayout we can put a text on an image.
Create a new project by selecting empty activity and modify the following files as shown below.
activity_main.xml
Copy an image and paste in the drawable menu by right click on it. Give a name to the image,here i just give my image name as f.png as you can see in the attribute <ImageView android:src=”@drawable/f” .
<?xml version="1.0" encoding="utf-8"?>
<FrameLayout android:layout_width="match_parent"
    android:layout_height="match_parent"
    xmlns:android="http://schemas.android.com/apk/res/android">
    <ImageView android:src="@drawable/f"
        android:id="@+id/img1"
        android:layout_height="wrap_content"
        android:layout_width="wrap_content"
        android:layout_gravity="center"/>
    <TextView
        android:layout_width="wrap_content"
        android:layout_height="wrap_content"
        android:layout_gravity="center"
        android:id="@+id/txt1"
        android:textSize="100px"
        android:text="FRAME LAYOUT"
        style="@style/Base.ThemeOverlay.AppCompat.Light"/>
</FrameLayout>
Strings.xml
<resources>
    <string name="app_name">FRAME LAYOUT</string>
</resources>
MainActivity.java
package com.example.framelayout;

import android.support.v7.app.AppCompatActivity;
import android.os.Bundle;

public class MainActivity extends AppCompatActivity {

    @Override
    protected void onCreate(Bundle savedInstanceState) {
        super.onCreate(savedInstanceState);
        setContentView(R.layout.activity_main);
    }
}
AndroidManifest.xml
 <?xml version="1.0" encoding="utf-8"?>
<manifest xmlns:android="http://schemas.android.com/apk/res/android"
    package="com.example.framelayout">

    <application
        android:allowBackup="true"
        android:icon="@mipmap/ic_launcher"
        android:label="@string/app_name"
        android:roundIcon="@mipmap/ic_launcher_round"
        android:supportsRtl="true"
        android:theme="@style/AppTheme">
        <activity android:name=".MainActivity">
            <intent-filter>
                <action android:name="android.intent.action.MAIN" />

                <category android:name="android.intent.category.LAUNCHER" />
            </intent-filter>
        </activity>
    </application>

</manifest>
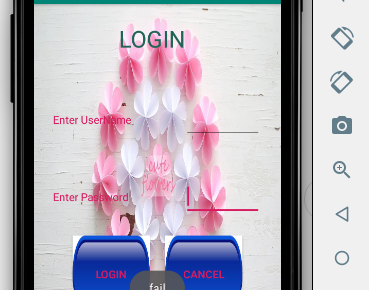
Output


One Reply to “Android Frame Layout Tutorial”