How to save and load data via Shared Preferences in Android | in this tutorial, we will learn how to store and load data using Shared Preferences in android.
In my last post I have discussed tutorial regarding the shared preference use. This tutorial is an example program for showing how to save and load data via shared Preference in android.
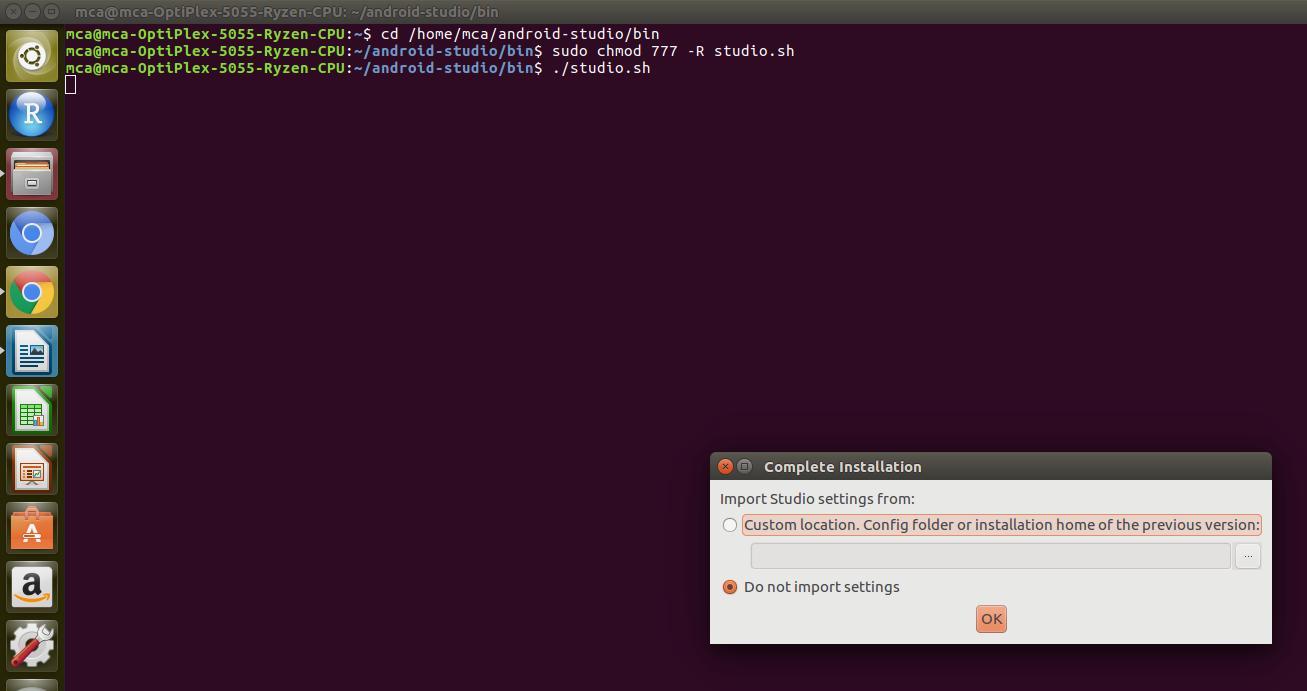
As you all know Shared Preferences is used to stores private data in key-value pairs. You can save values in the Shared Preferences by using SharedPreferences.Editor class.
In Shared Preferences save data to shared preference by calling the getSharedPreferences() method.
You can save something in the Shared Preferences by using SharedPreferences.Editor class.
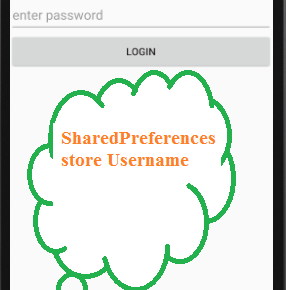
Following example demonstrates the use of the Shared Preferences. It displays a screen with some EditText fields, whose value are saved when you click on Button and the saved values are displayed in another activity.
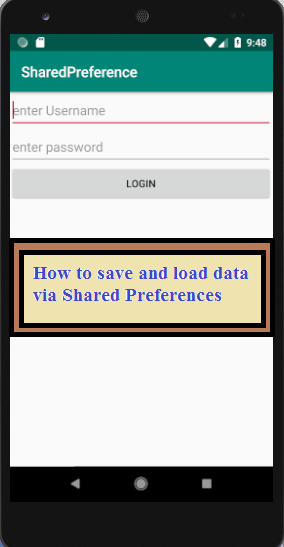
When you click on the Button on second activity it will return to the first activity.
Modify your activity_main.xml and MainActivity.java file as shown below.
activity_main.xml
<?xml version="1.0" encoding="utf-8"?>
<LinearLayout android:layout_width="match_parent"
    android:layout_height="match_parent"
    xmlns:android="http://schemas.android.com/apk/res/android"
    android:orientation="vertical">
    <EditText
        android:layout_width="match_parent"
        android:layout_height="50dp"
        android:id="@+id/ed1"
        android:hint="enter Username"/>
    <EditText
        android:layout_width="match_parent"
        android:layout_height="50dp"
        android:id="@+id/ed2"
        android:hint="enter password"/>
    <Button
        android:layout_width="match_parent"
        android:layout_height="50dp"
        android:text="Login"
        android:id="@+id/btn"
        android:onClick="onLogin"/>
</LinearLayout>
The layout of the first activity is shown below.
MainActivity.java
package com.example.sharedpreference;
import android.content.Context;
import android.content.Intent;
import android.content.SharedPreferences;
import android.os.Environment;
import android.support.v7.app.AppCompatActivity;
import android.os.Bundle;
import android.view.View;
import android.widget.EditText;

public class MainActivity extends AppCompatActivity {
    EditText ed1,ed2;

    @Override
    protected void onCreate(Bundle savedInstanceState) {
        super.onCreate(savedInstanceState);
        setContentView(R.layout.activity_main);

    }
    public void onLogin(View v){

        ed1=(EditText)findViewById(R.id.ed1);
        ed2=(EditText)findViewById(R.id.ed2);
        SharedPreferences sp;
        sp=getSharedPreferences("SD", Context.MODE_PRIVATE);
        SharedPreferences.Editor ed=sp.edit();
        ed.putString("un",ed1.getText().toString());
        ed.putString("up",ed2.getText().toString());
        ed.commit();
        Intent in=new Intent(this,Sec.class);
        startActivity(in);
    }
}
Create a second activity (Sec.java) and its corresponding layout(activity_sec.xml) by right click on app folder on the left side of your android studio. Choose app>New>Activity>Empty Activity.
Give an activity name and layout name as you like. Here I have named the activity and layout file as Sec.java and activity_sec.xml respectively. Modify both file as shown below.
activity_sec.xml
<?xml version="1.0" encoding="utf-8"?>
<LinearLayout android:layout_width="match_parent"
    android:layout_height="match_parent"
    xmlns:android="http://schemas.android.com/apk/res/android"
    android:orientation="vertical">
    <EditText
        android:layout_width="match_parent"
        android:layout_height="50dp"
        android:id="@+id/ed1"
        android:hint="enter name"/>
    <EditText
        android:layout_width="match_parent"
        android:layout_height="50dp"
        android:id="@+id/ed2"
        android:hint="enter password"/>
    <Button
        android:layout_width="match_parent"
        android:layout_height="50dp"
        android:text="SecondActivity"
        android:id="@+id/btn"
        android:onClick="onClose"/>
</LinearLayout>
The layout of the second activity is shown below.
Sec.java
package com.example.sharedpreference;
import android.content.Context;
import android.content.Intent;
import android.content.SharedPreferences;
import android.support.v7.app.AppCompatActivity;
import android.os.Bundle;
import android.view.View;
import android.widget.EditText;

public class Sec extends AppCompatActivity {
    EditText ed1,ed2;
    SharedPreferences sp;

    @Override
    protected void onCreate(Bundle savedInstanceState) {
        super.onCreate(savedInstanceState);
        setContentView(R.layout.activity_sec);
        ed1=(EditText)findViewById(R.id.ed1);
        ed2=(EditText)findViewById(R.id.ed2);
        sp=getSharedPreferences("SD",Context.MODE_PRIVATE);
        ed1.setText(sp.getString("un","username").toString());
        ed2.setText(sp.getString("up","password").toString());

    }
    public void onClose(View v){

        SharedPreferences.Editor ed=sp.edit();
        ed.clear();// remove all data
        ed.commit();// save changes
        finish();// finished executing
    }
}
AndroidManifest.xml
<?xml version="1.0" encoding="utf-8"?>
<manifest xmlns:android="http://schemas.android.com/apk/res/android"
    package="com.example.sharedpreference">

    <application
        android:allowBackup="true"
        android:icon="@mipmap/ic_launcher"
        android:label="@string/app_name"
        android:roundIcon="@mipmap/ic_launcher_round"
        android:supportsRtl="true"
        android:theme="@style/AppTheme">
        <activity android:name=".Sec"></activity>
        <activity android:name=".MainActivity">
            <intent-filter>
                <action android:name="android.intent.action.MAIN" />

                <category android:name="android.intent.category.LAUNCHER" />
            </intent-filter>
        </activity>
    </application>

</manifest>
Output :