Below are the steps to install Android Studio in Ubuntu
1.How to Enable virtualization in your system
For most computers you can get to the BIOS screen either by hitting Esc key or F2 key right after you hit the power button while turning on the computer. It will redirect you to the BIOS window. Enable virtualization in your system before installing android studio in Ubuntu.
2.Install JDK 8 or later
Before install android studio in Ubuntu, install JDK 8 or later in your system. Check whether your system have latest version of JDK installed or not. Press Ctrl+Alt+T for taking the terminal in Ubuntu and type the following command for checking the version of java.
javac -version
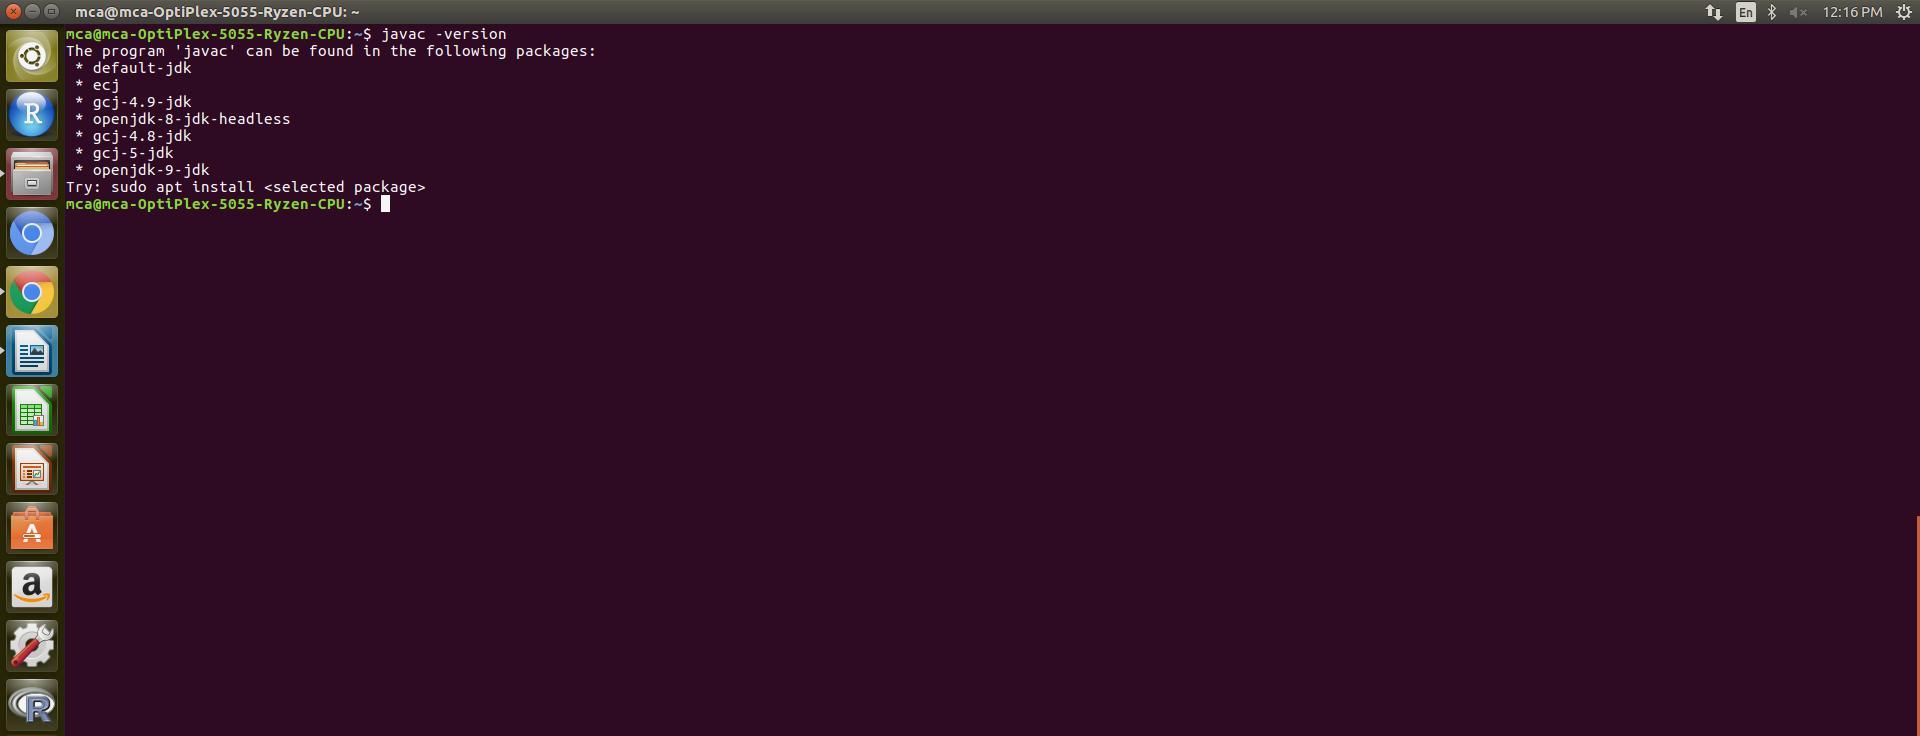
If the result of java version check command showing ‘Java command is not found in your system’, then type the following command in the terminal to install JDK in your system.
sudo apt-get update
sudo apt-get install oracle-java8-installer
or
sudo apt-get install default-jdk
After installing the jdk, check the version you have installed. To make sure, it’s installed successfully; open a terminal by pressing Ctrl+Alt+T and type
javac –version
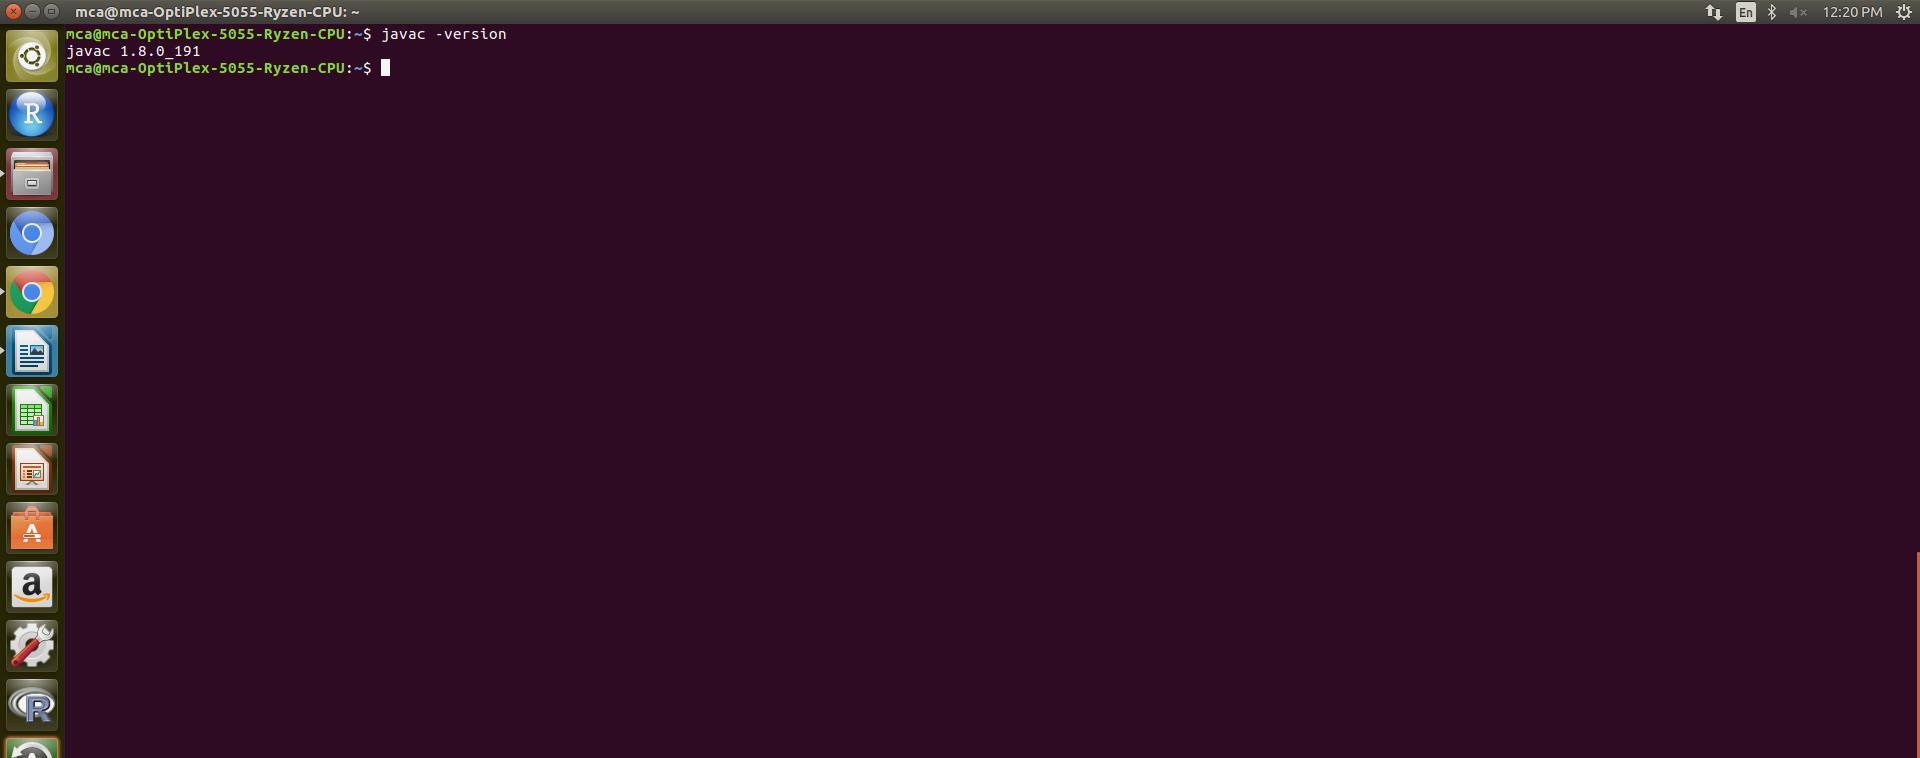
For more details regarding JDK installation Ubuntu
3.Download and install Android Studio
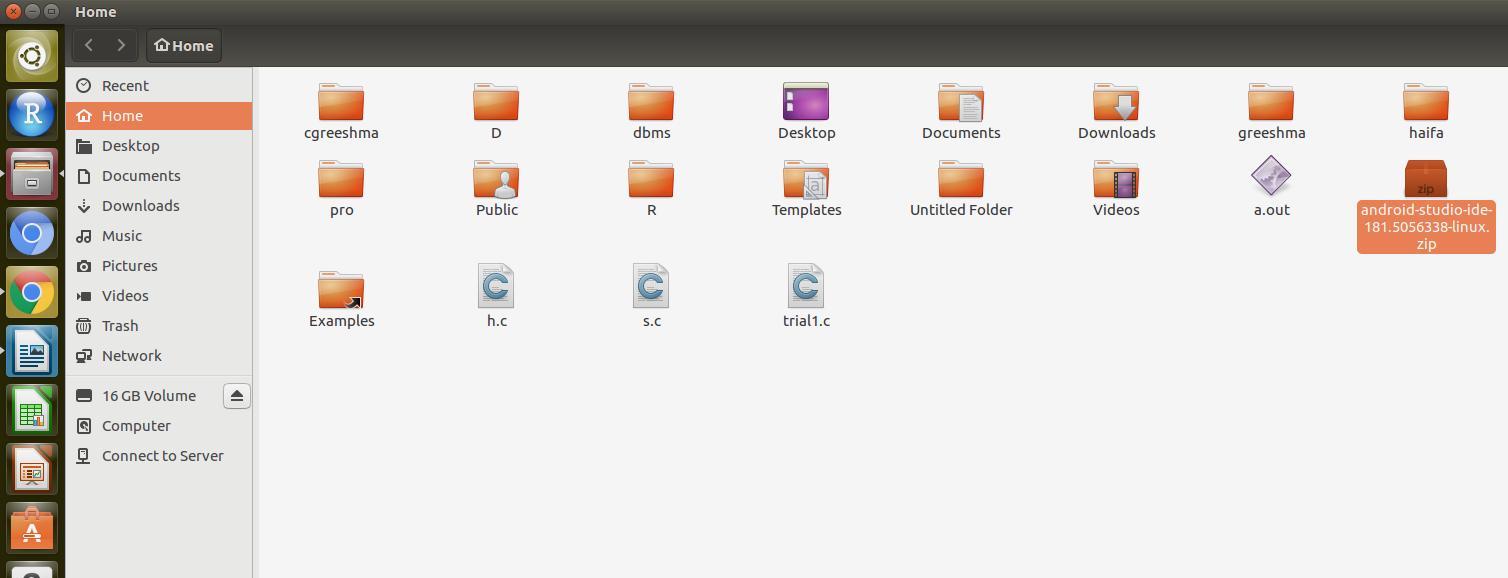
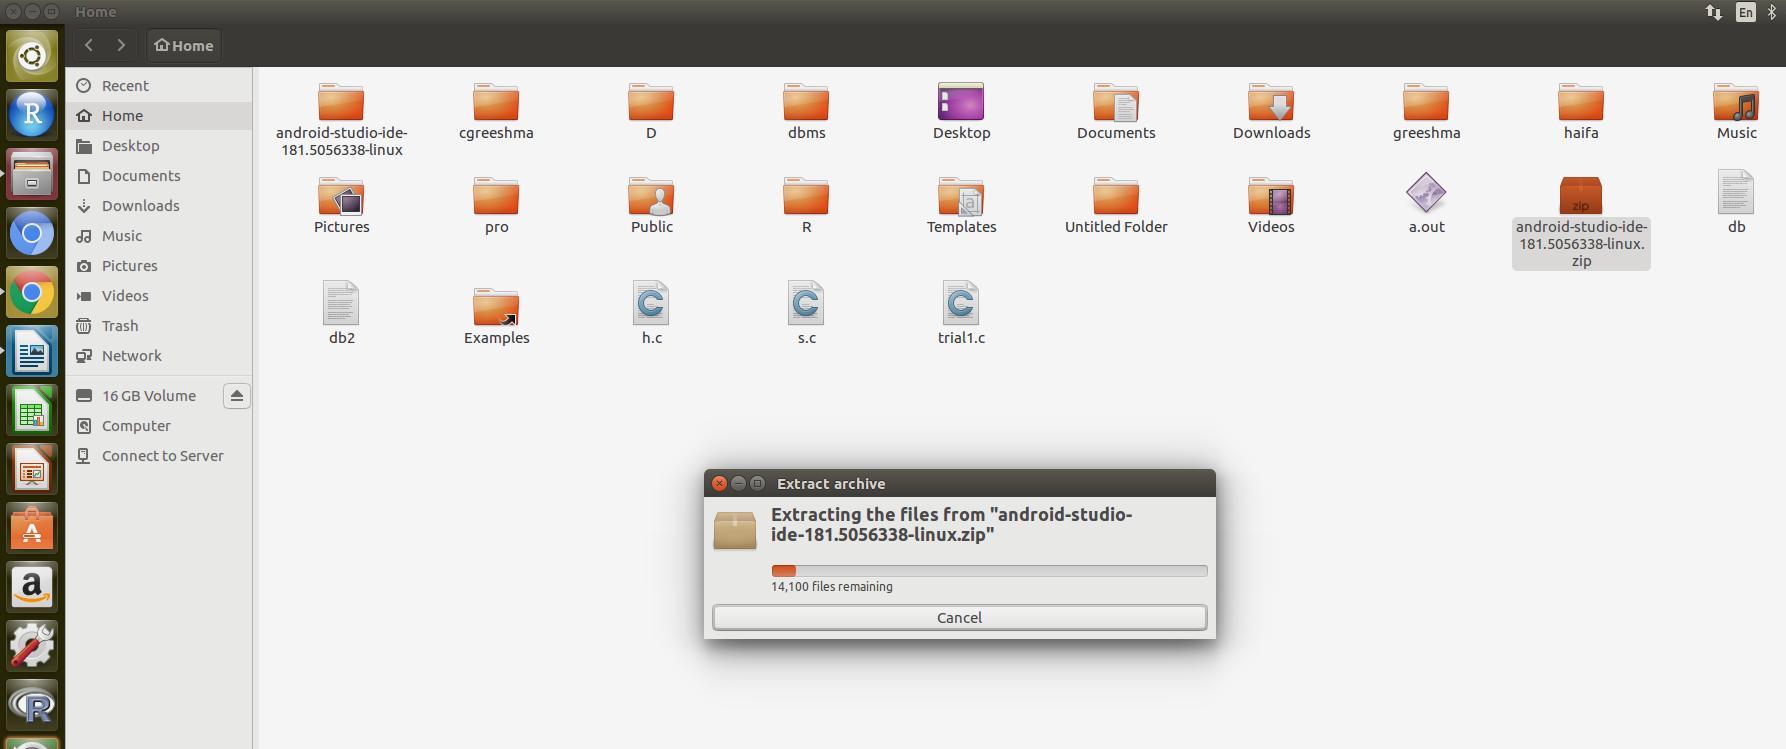
Download the Android Studio for Linux and extract it somewhere (e.g home directory).
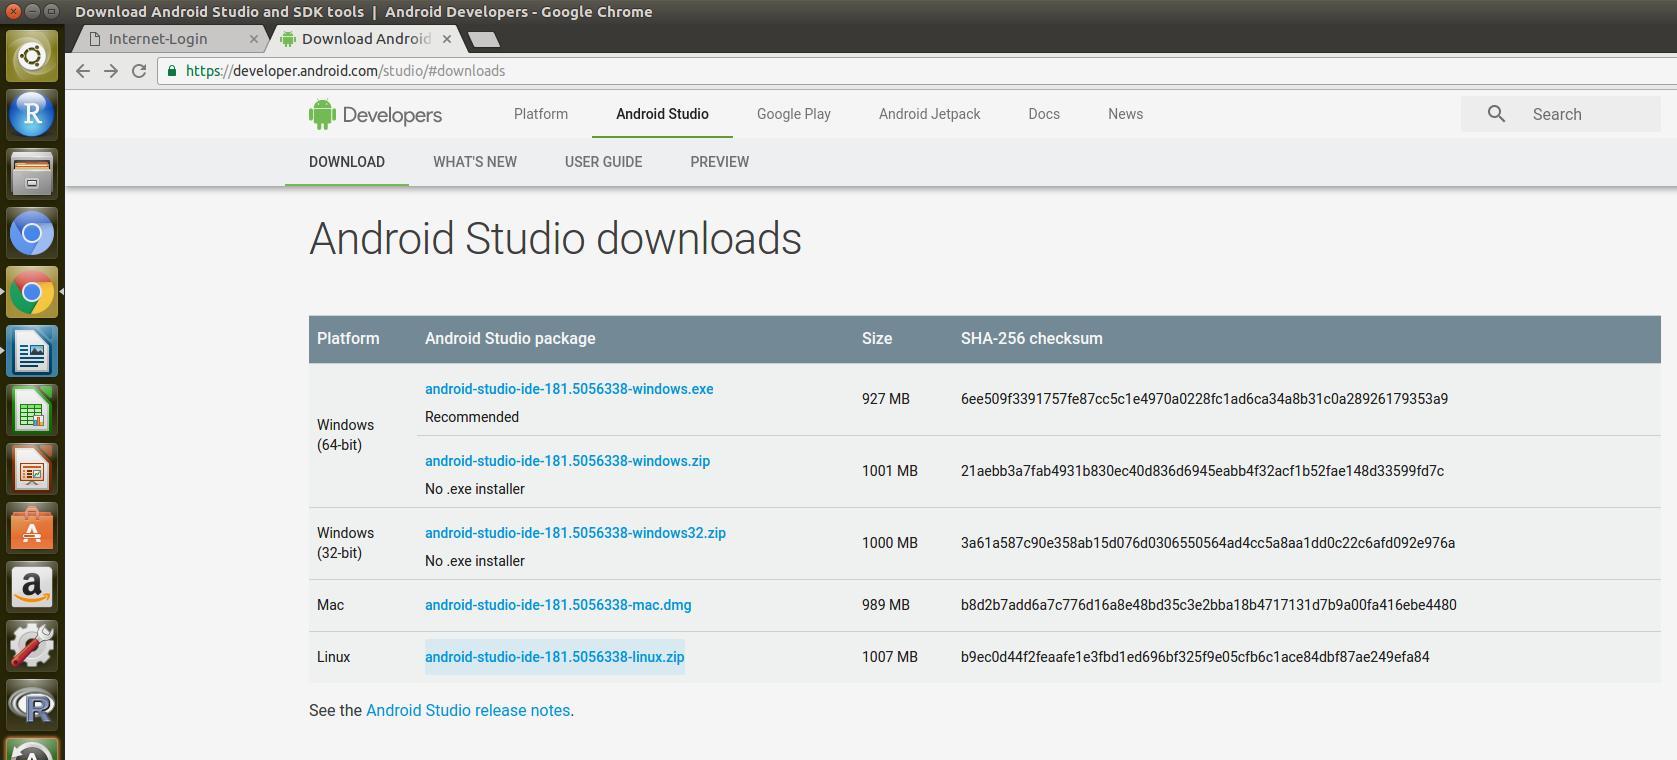
Select the android-studio-ide for the linux
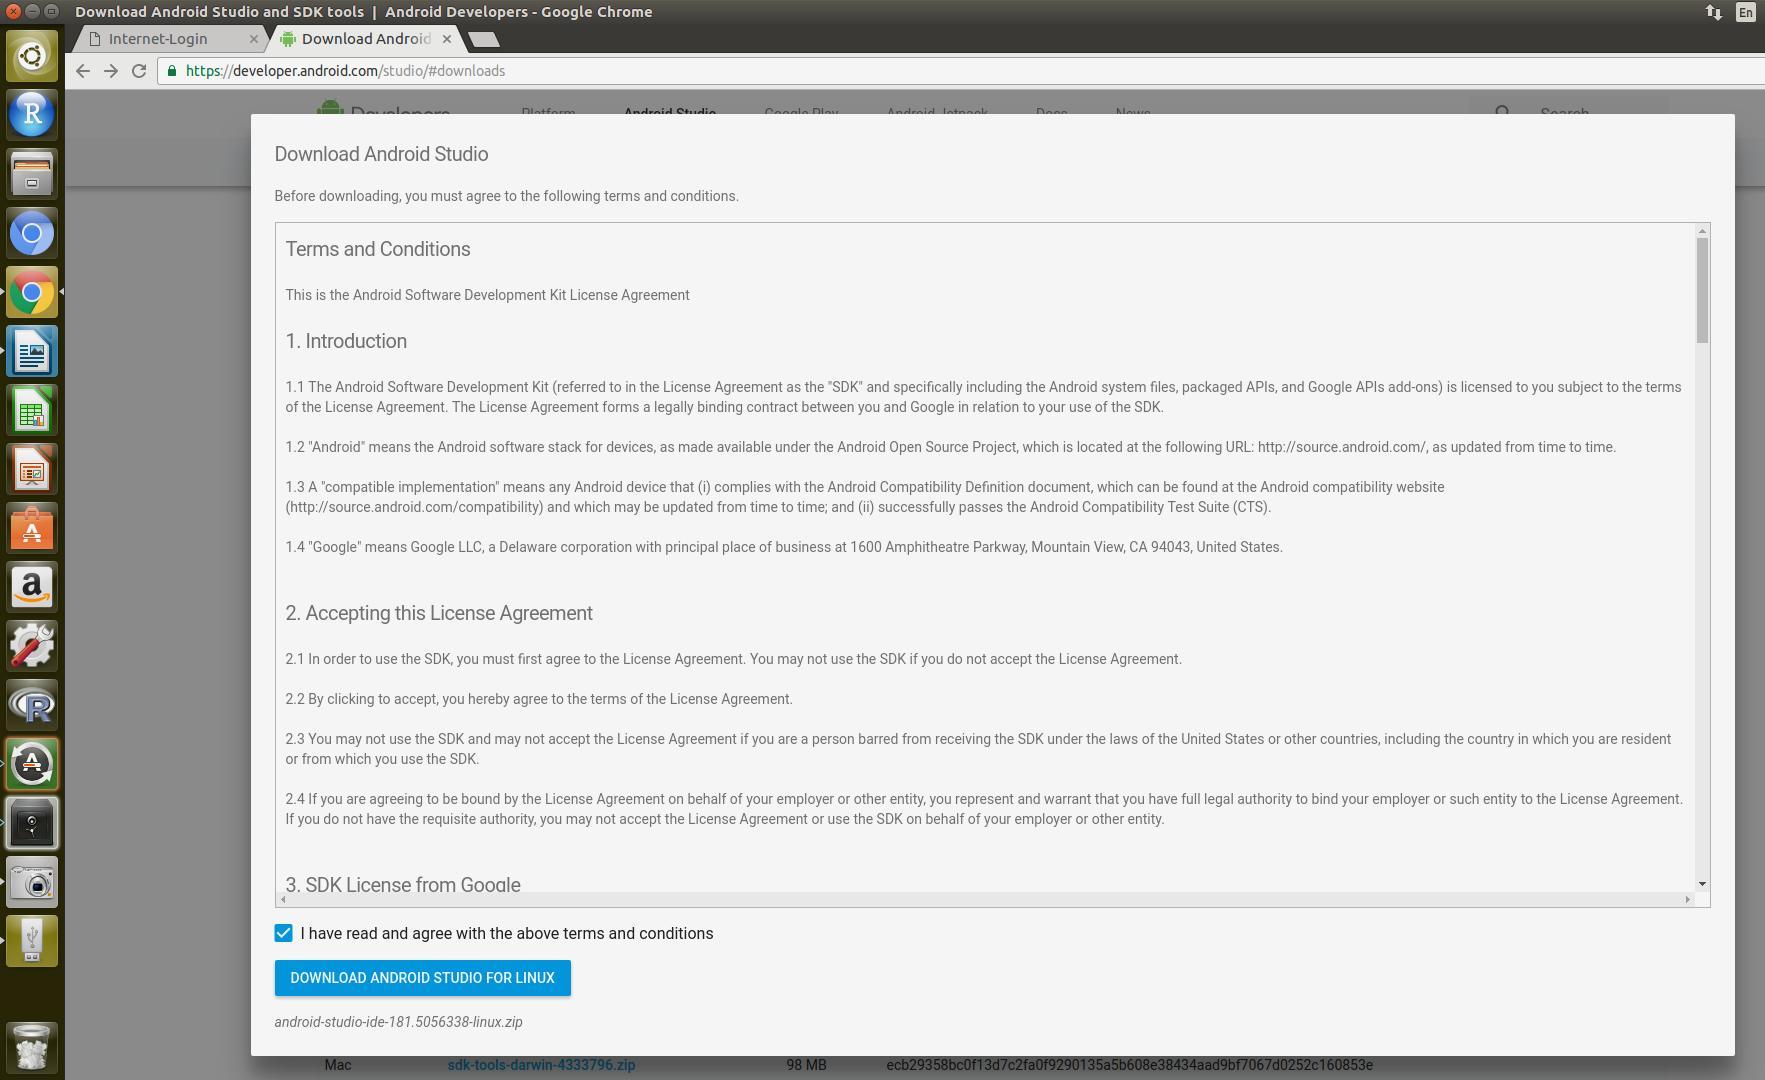


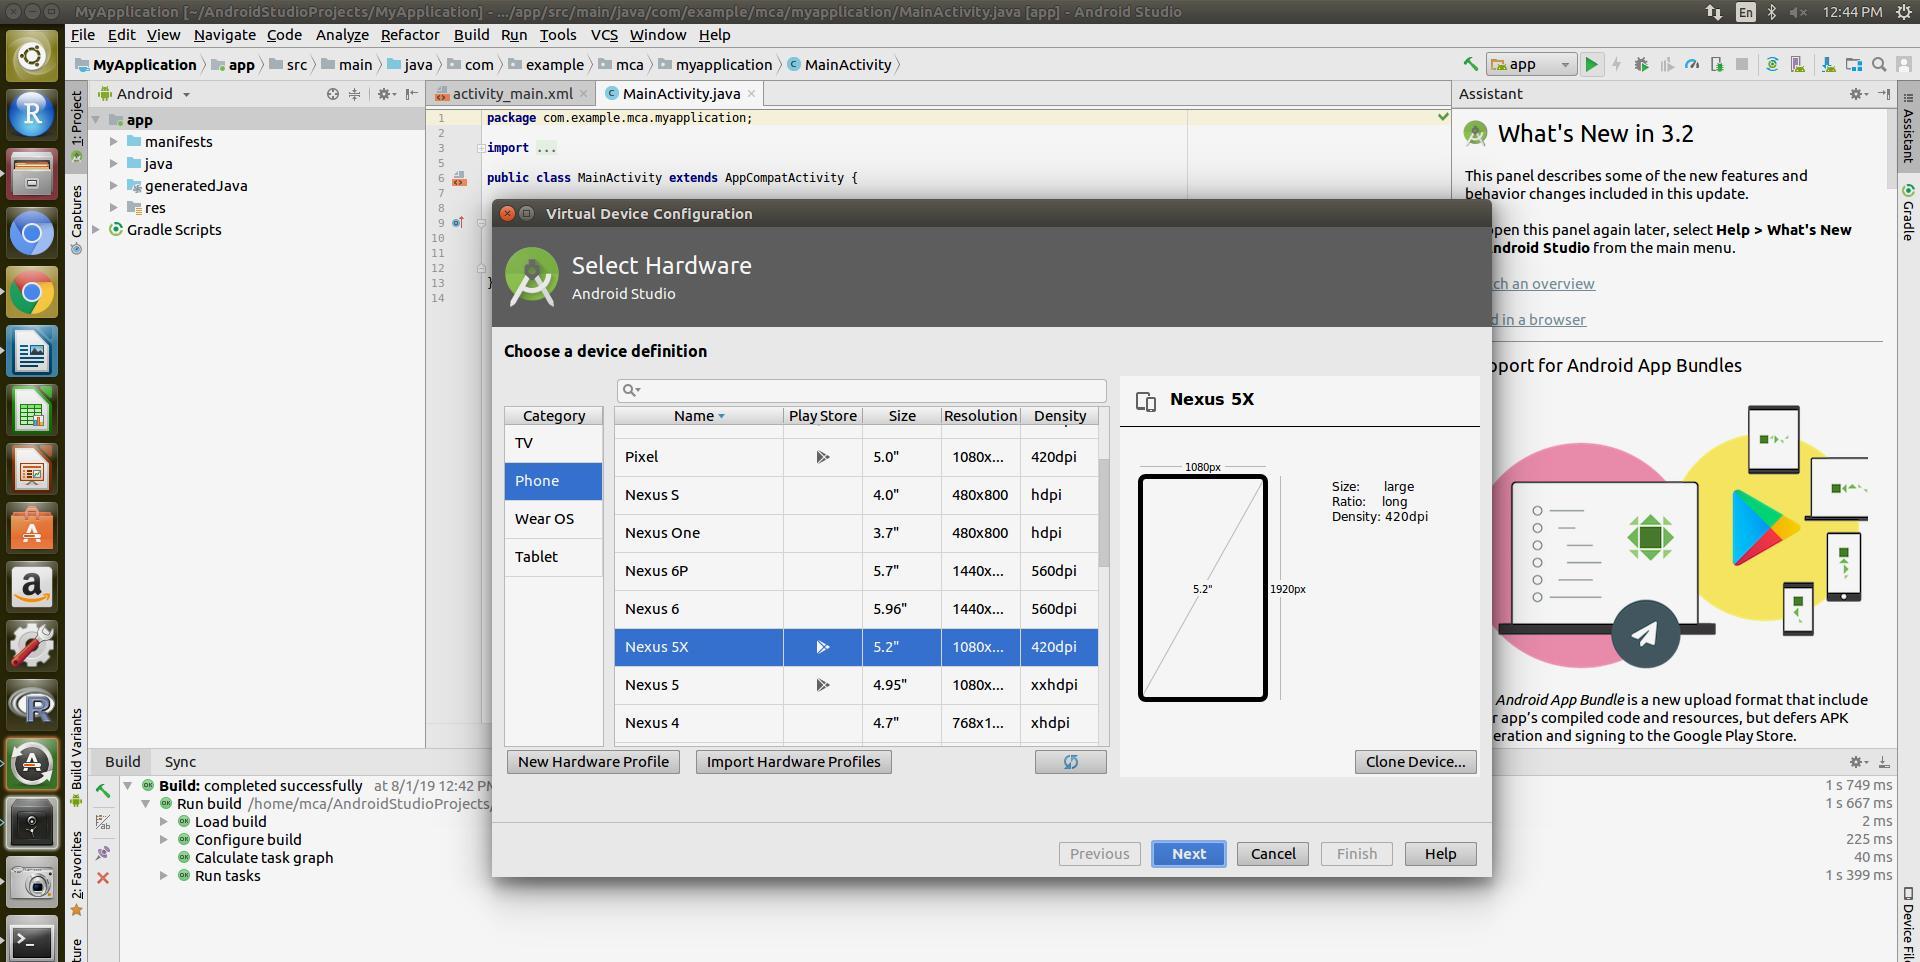
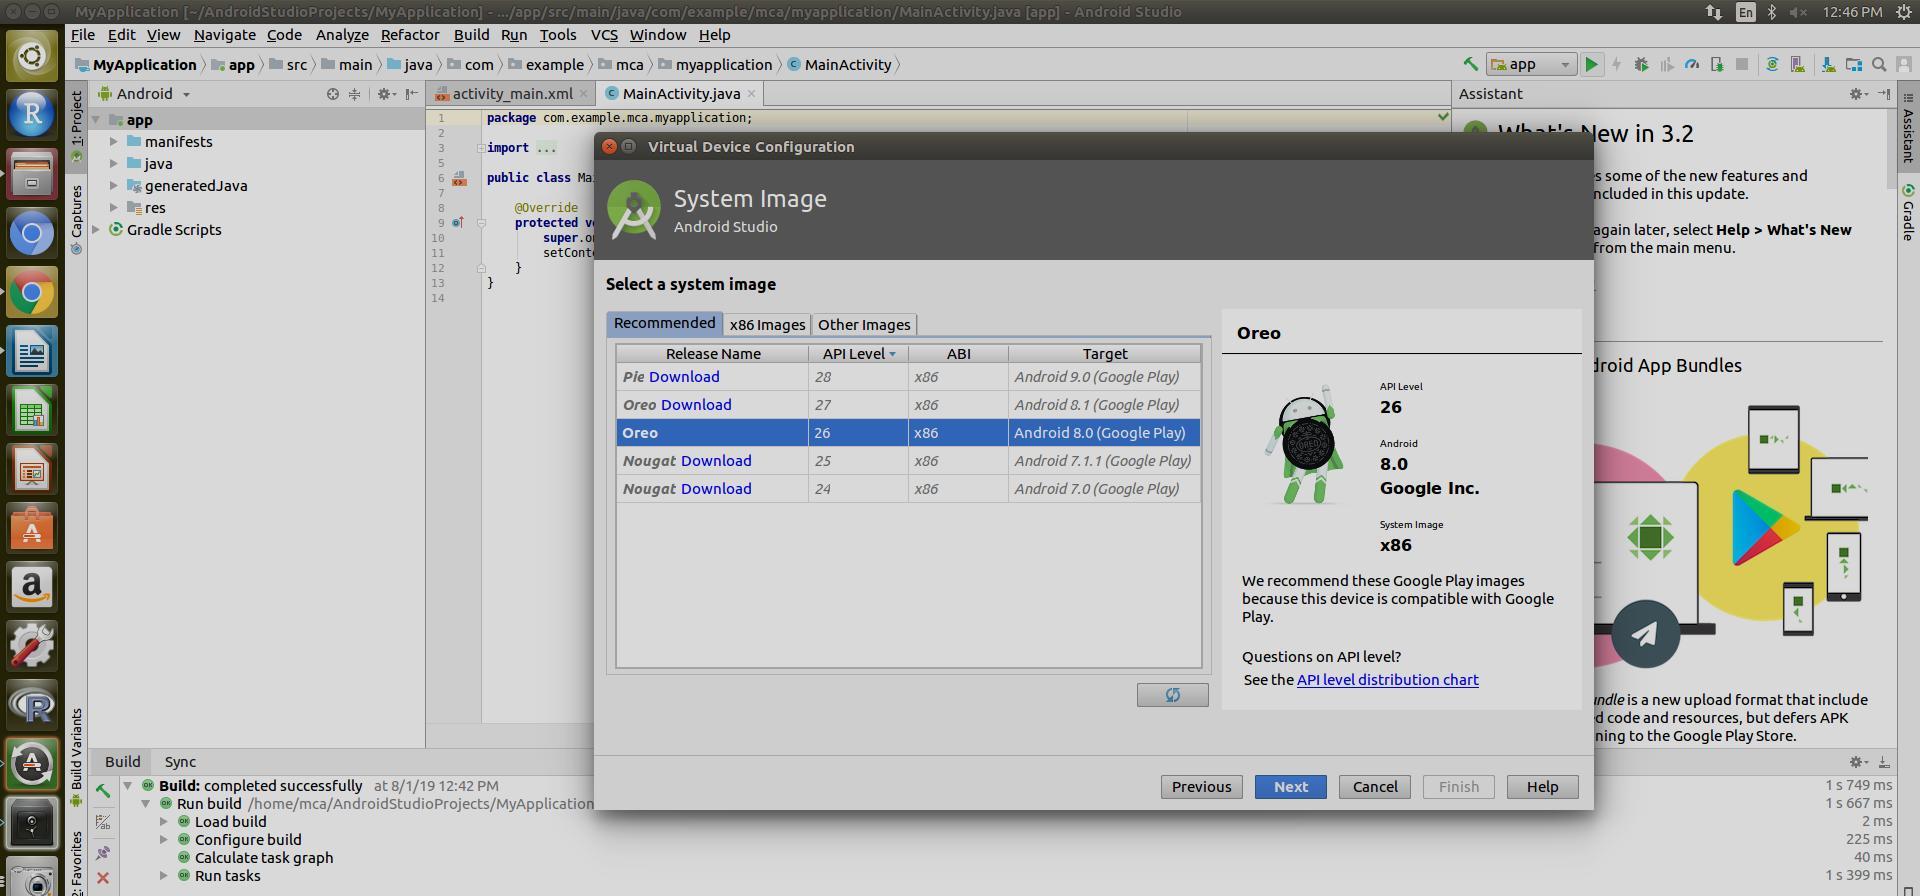
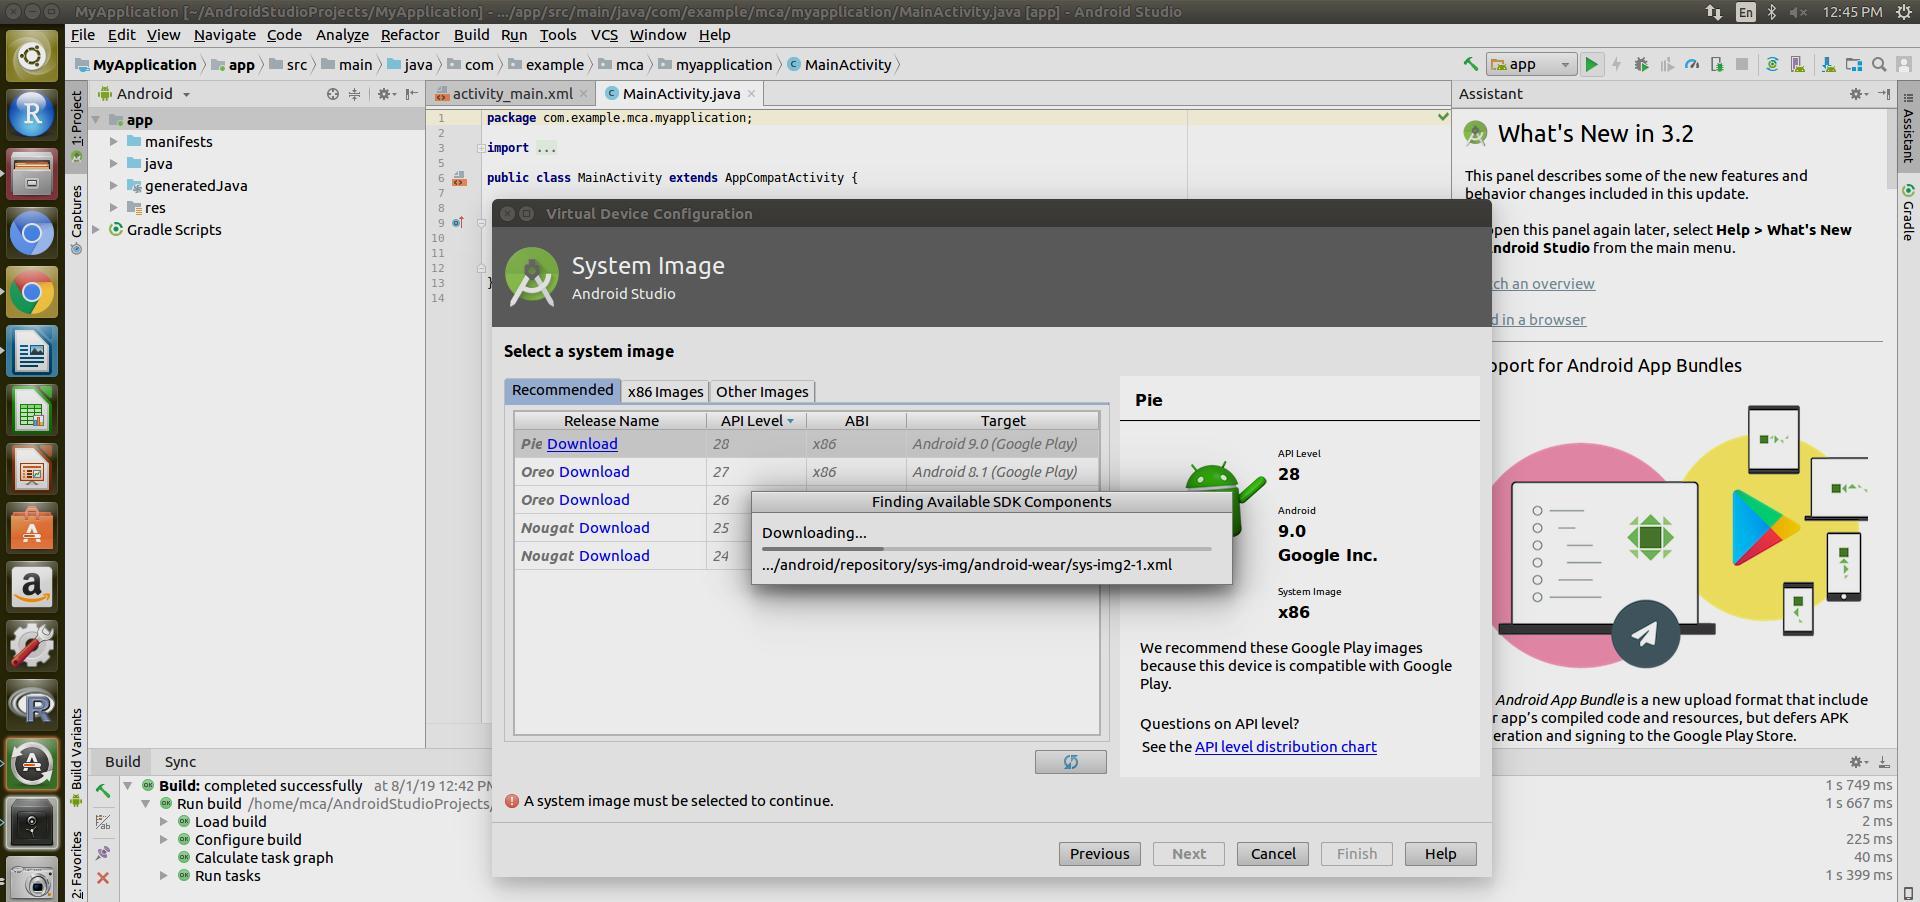
4.Installation of Android studio in Ubuntu
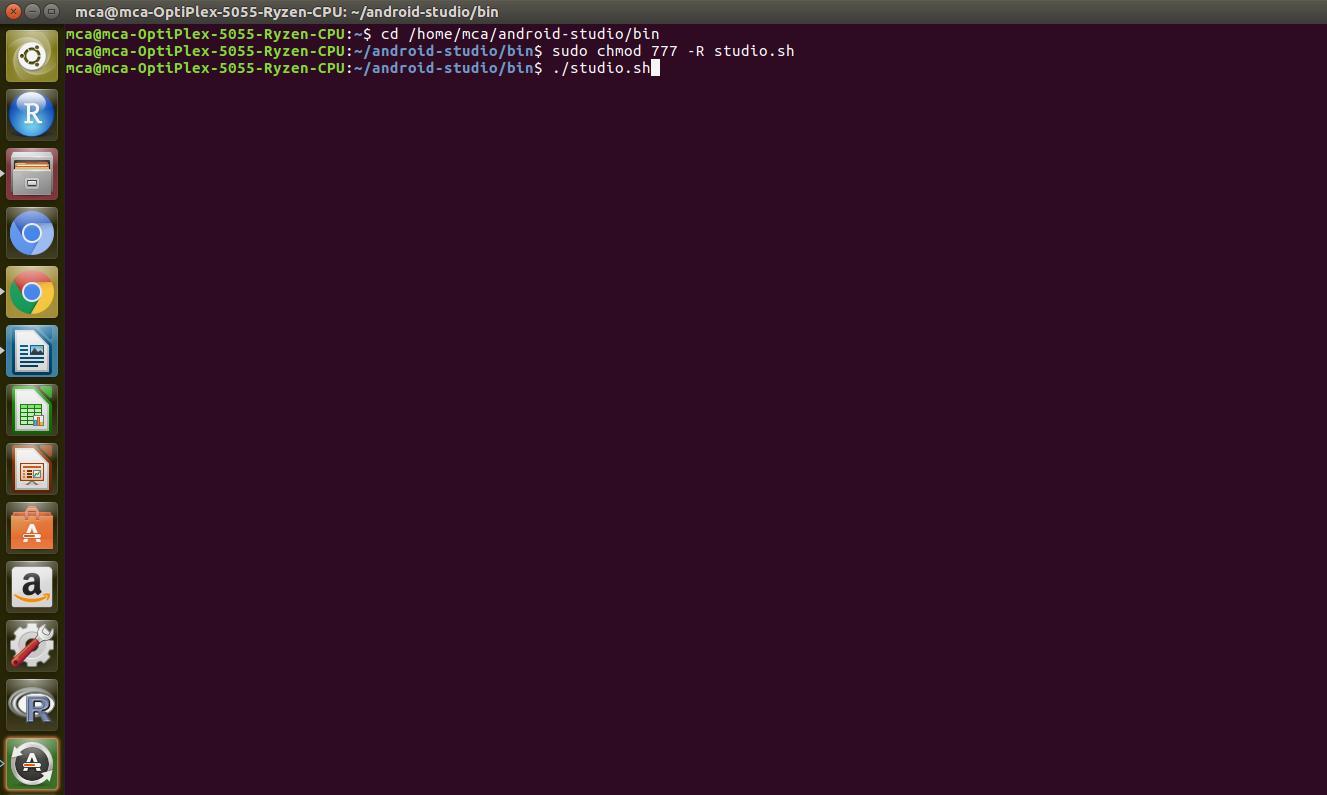
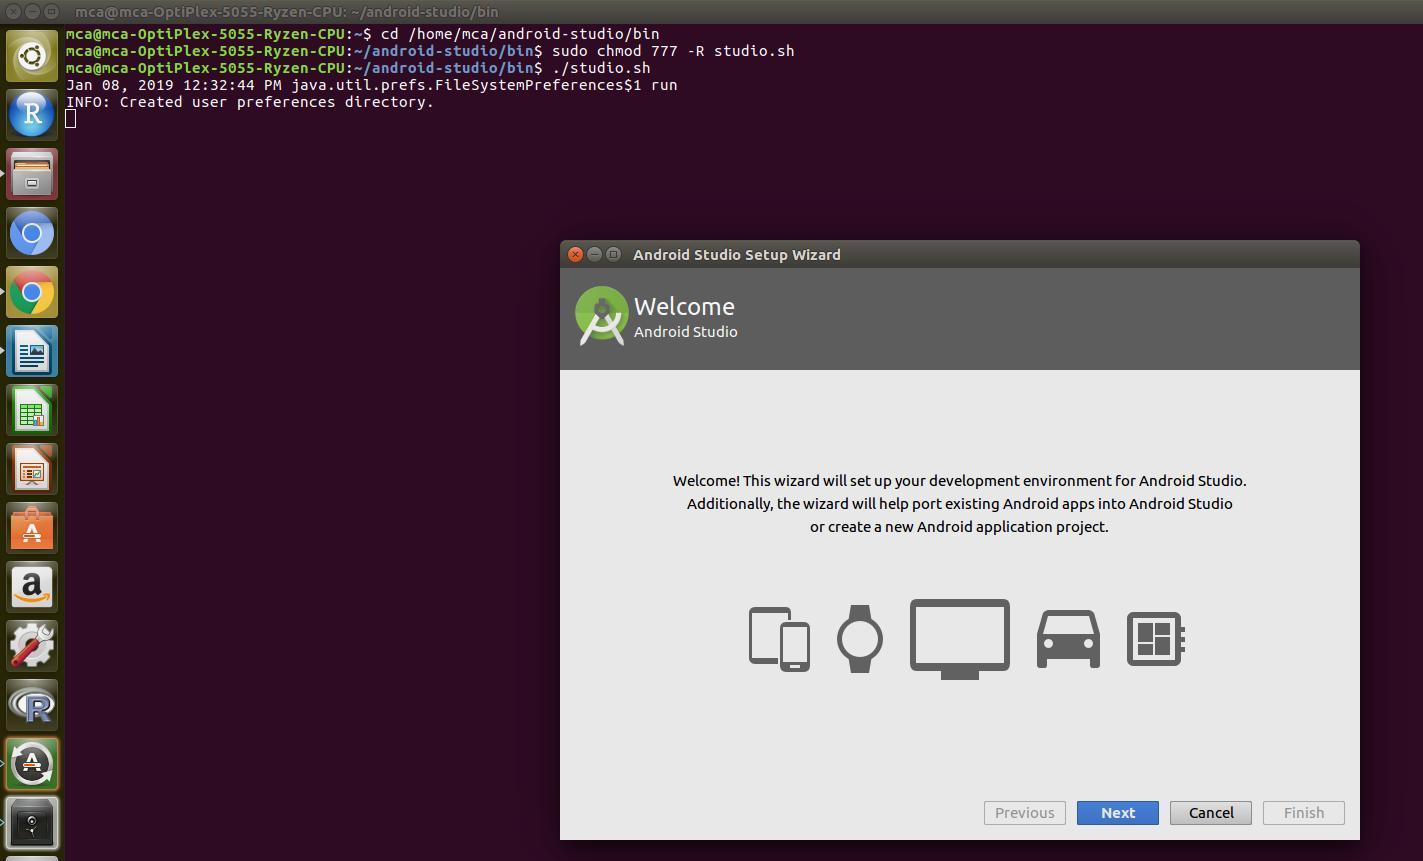
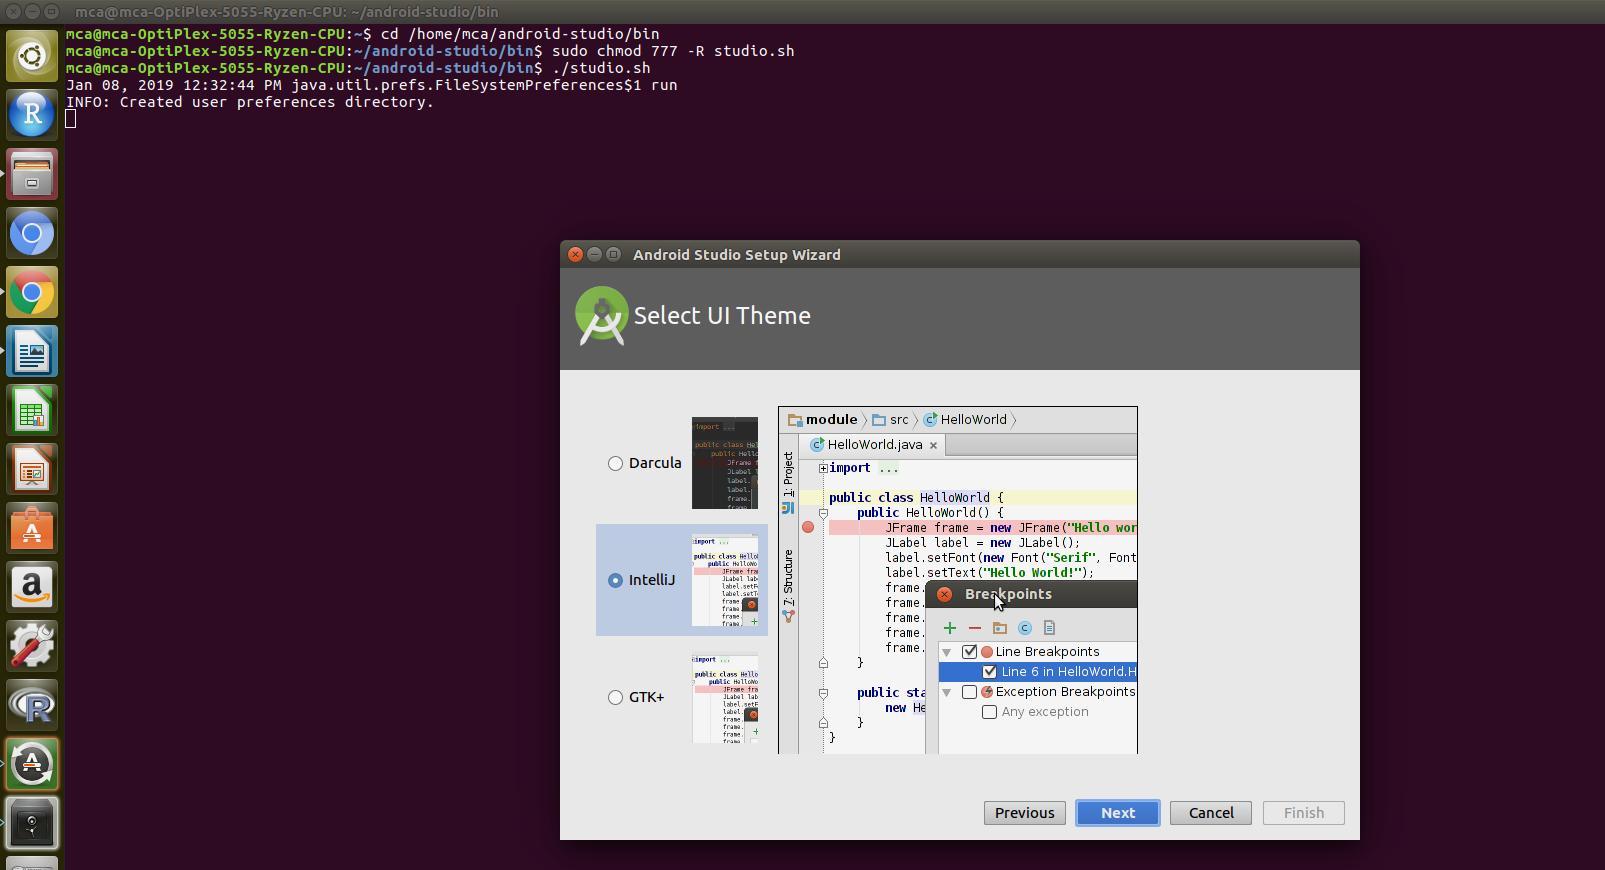
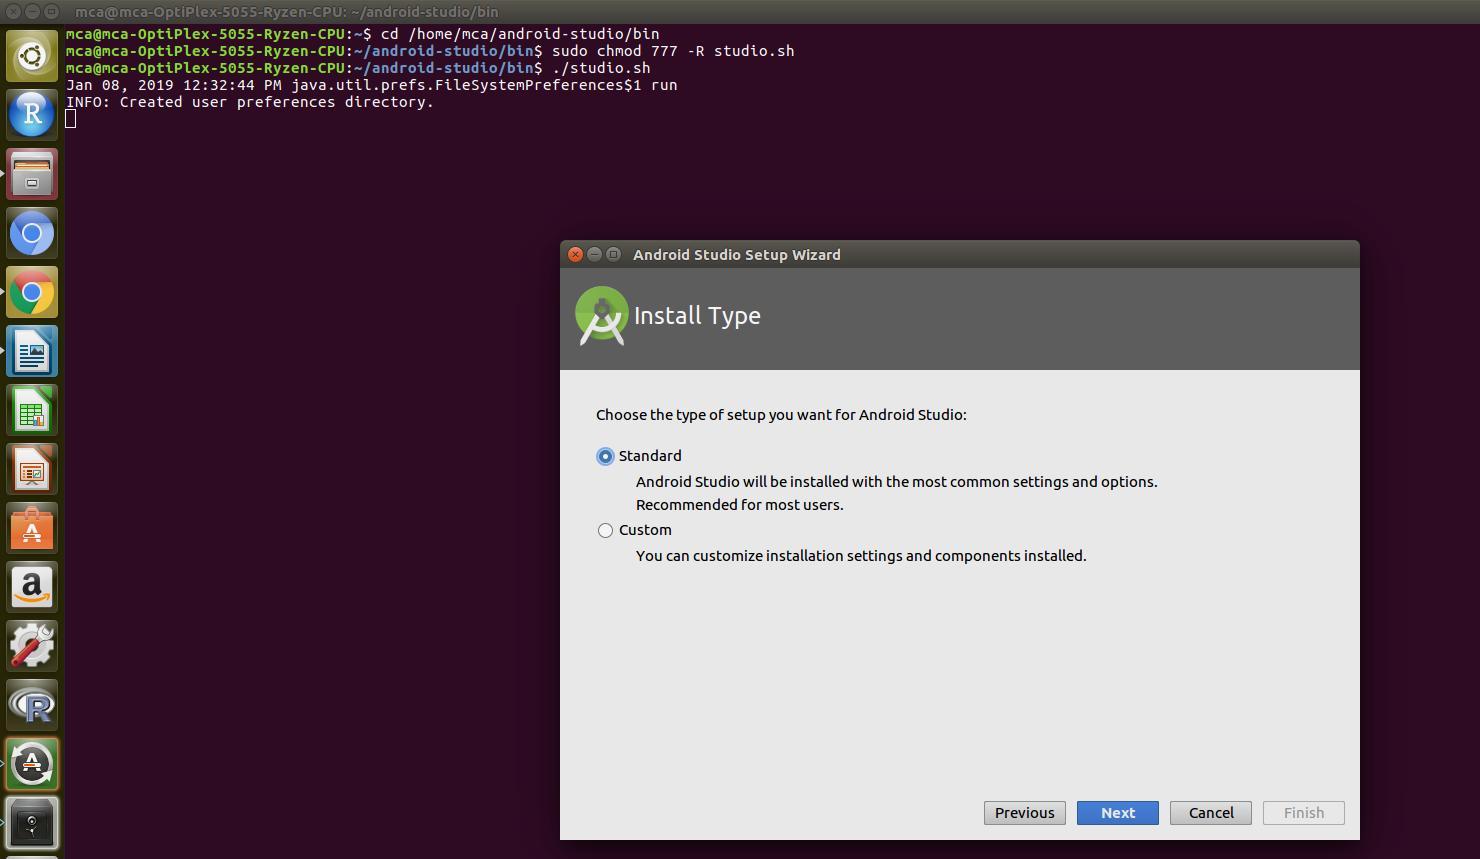
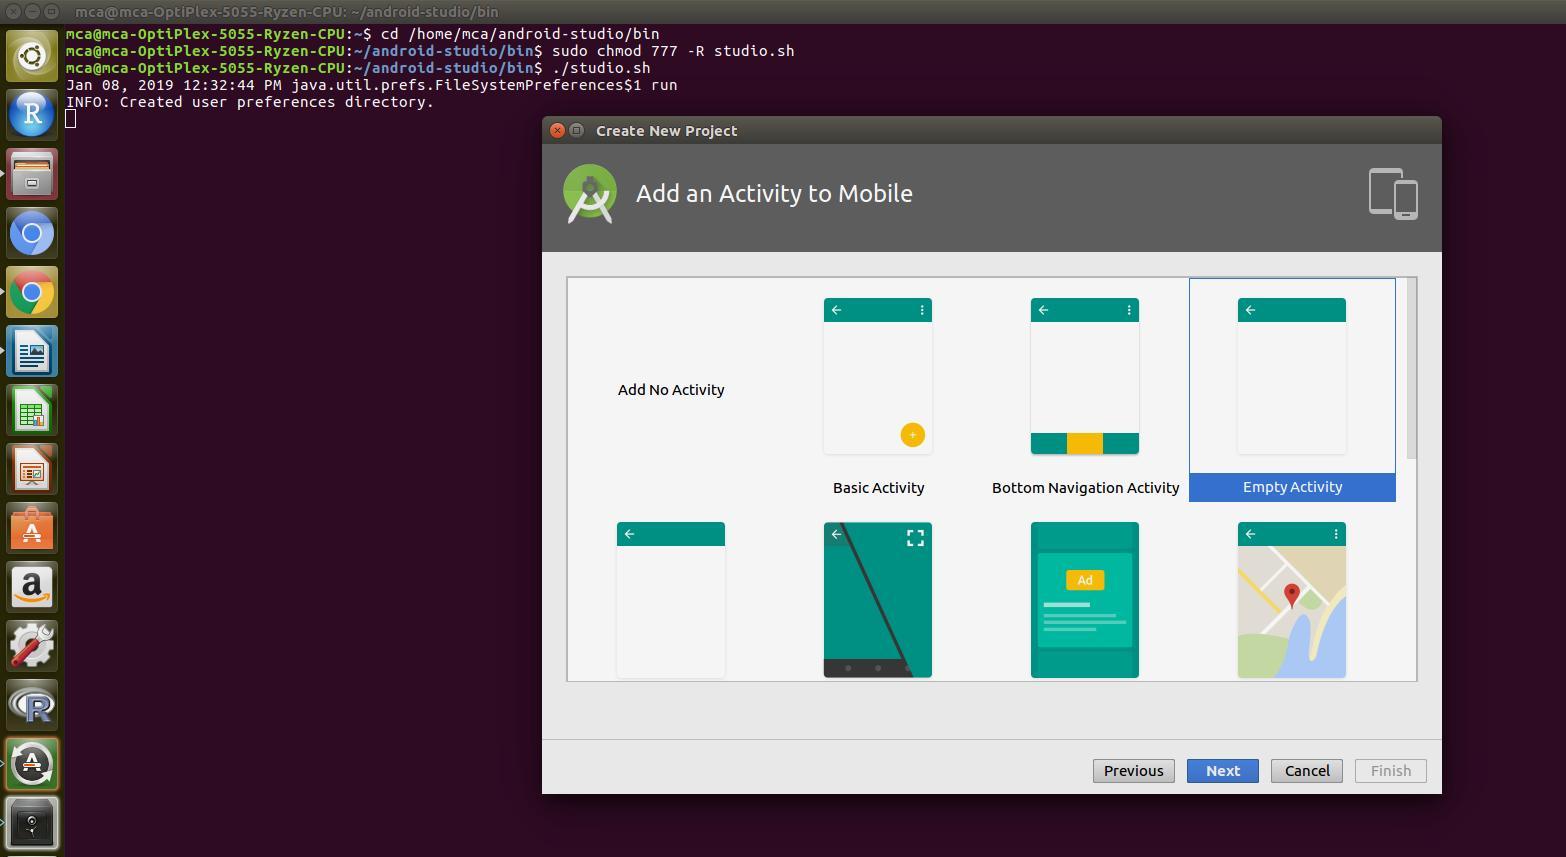
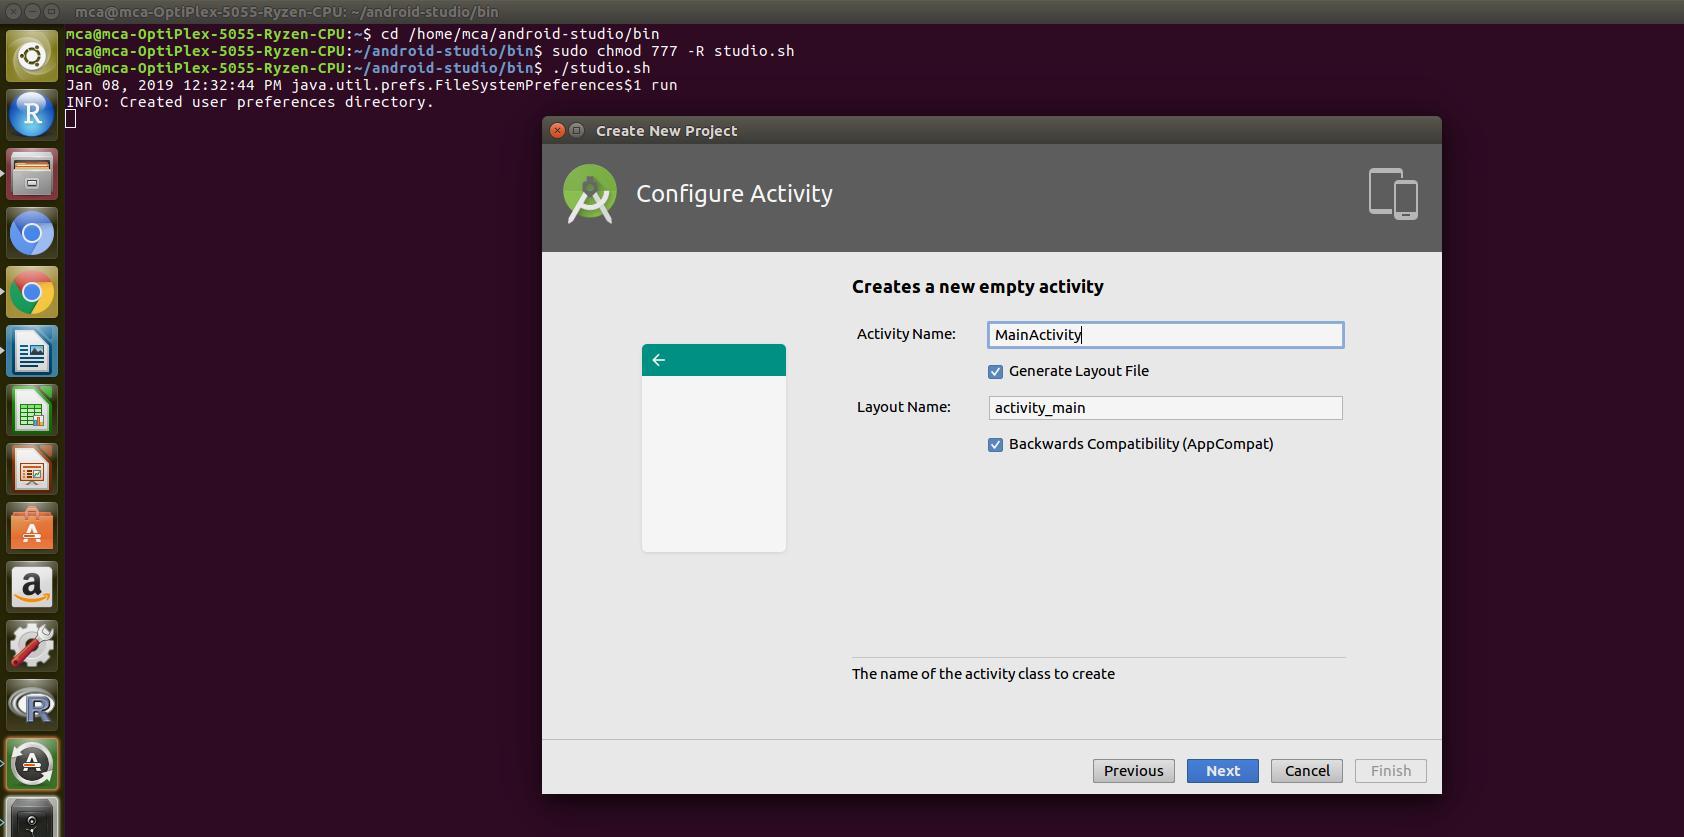
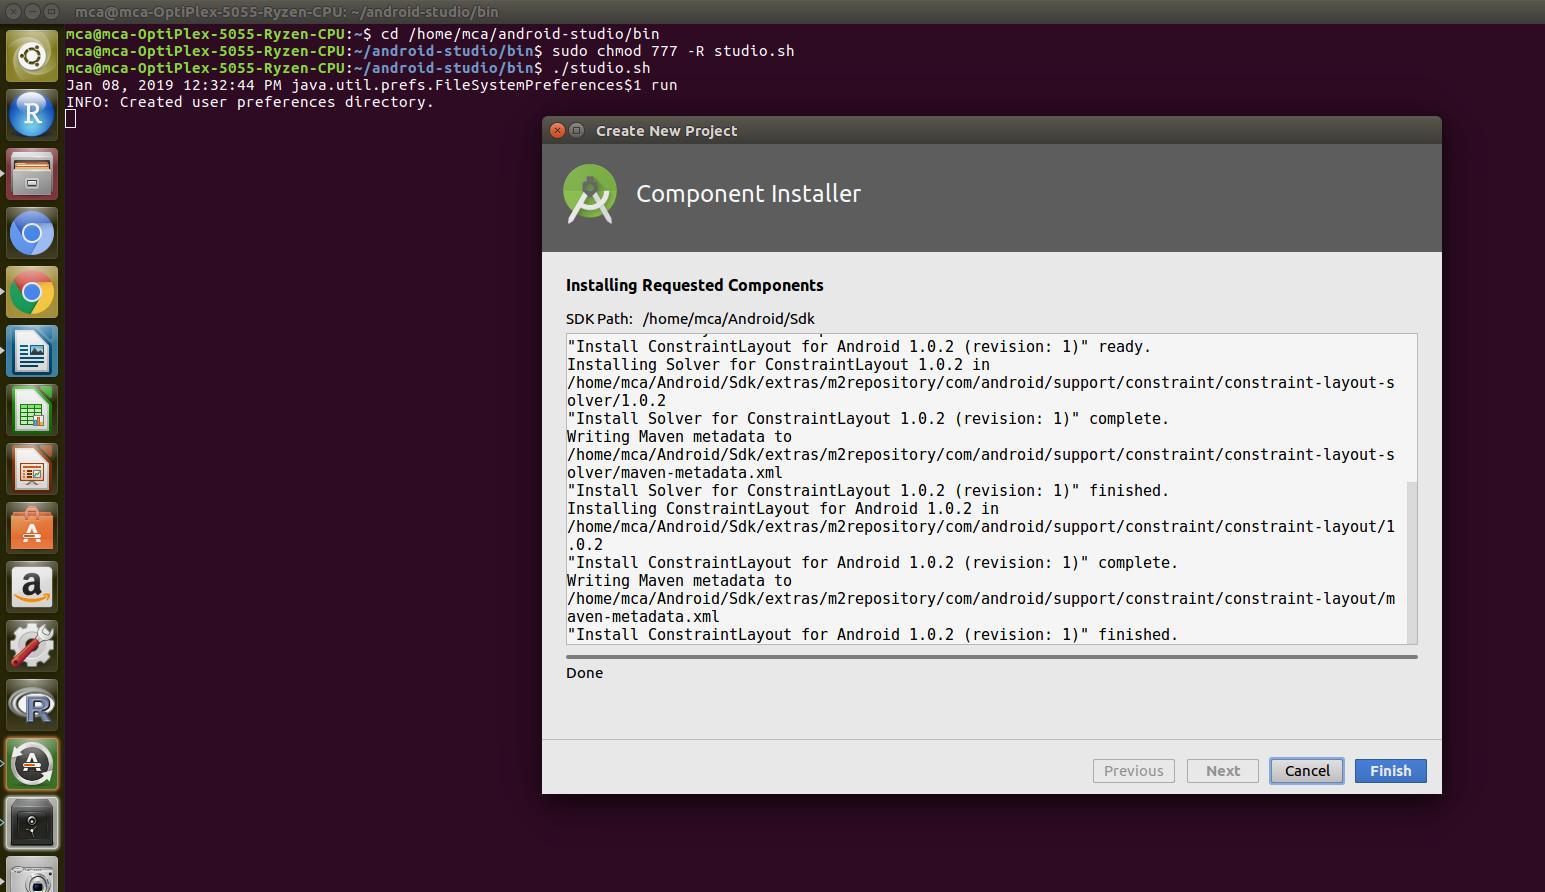
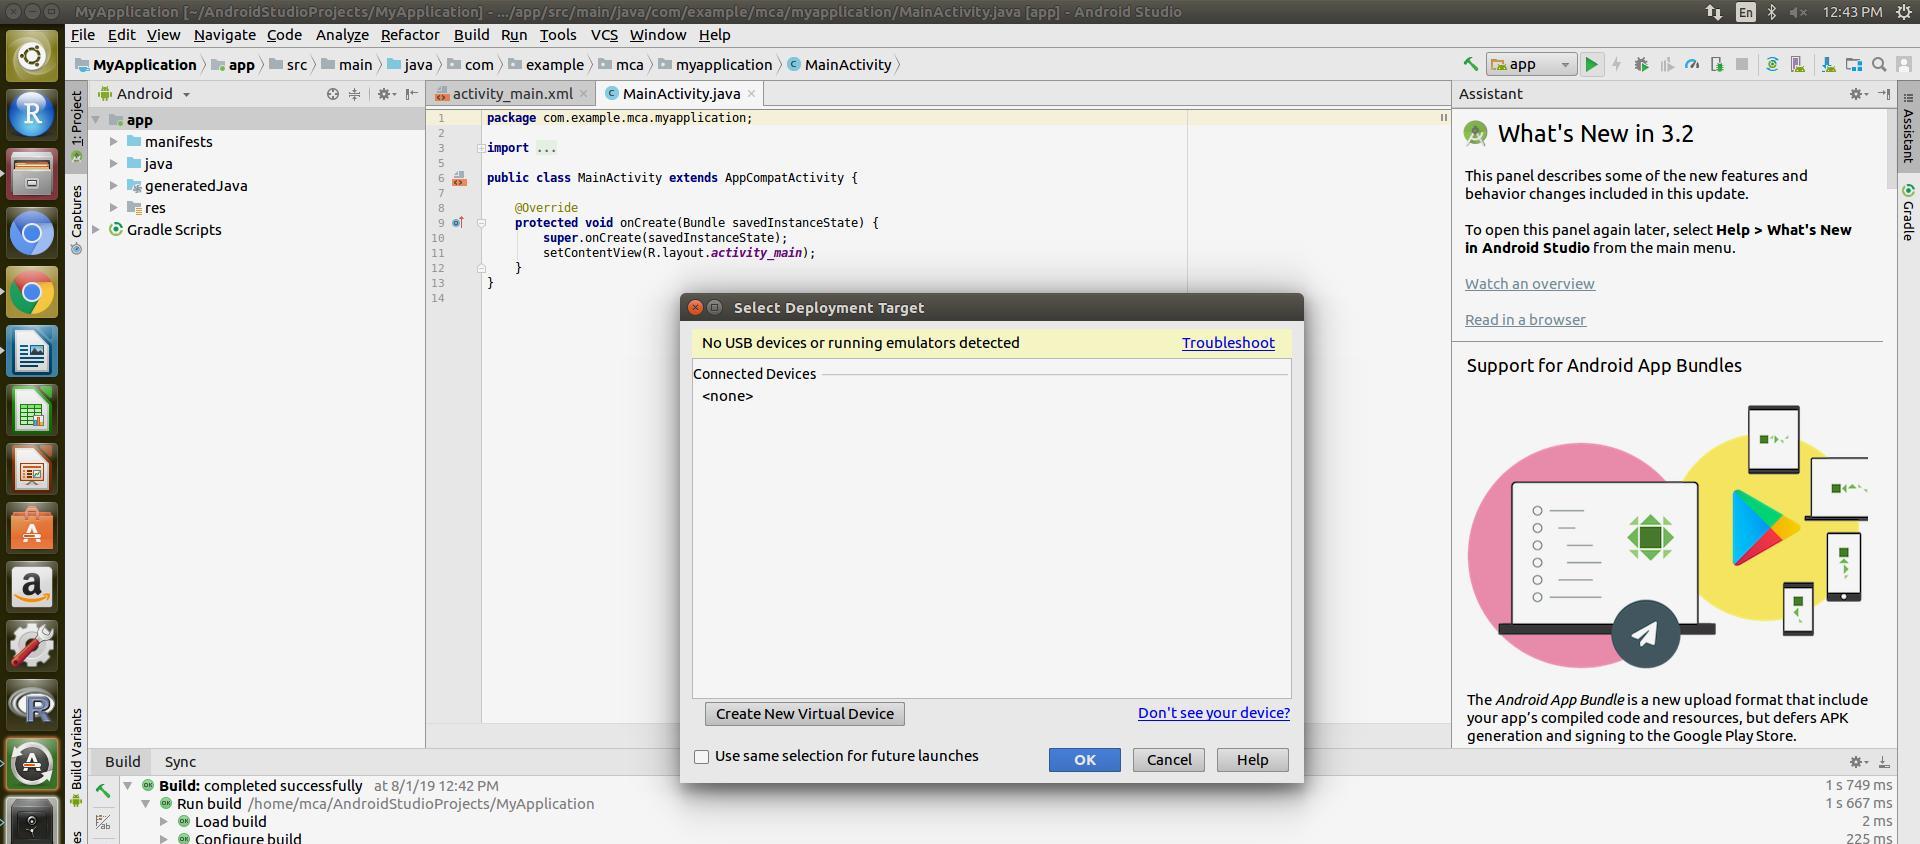
To launch Android Studio, open a terminal by pressing Ctrl+Alt+T, navigate to the android-studio/bin and execute studio.sh.
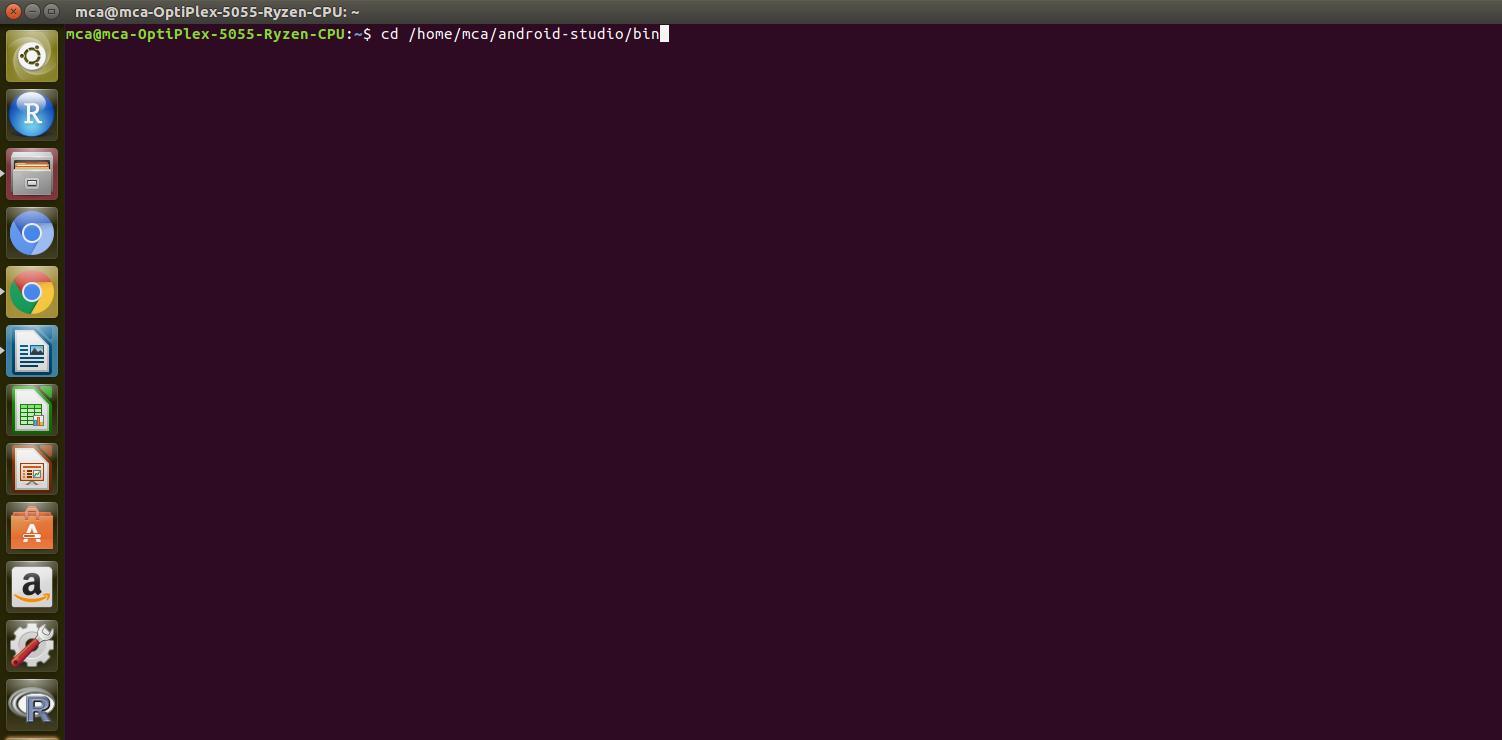
To get the path in Ubuntu press Ctrl+L and change the directory by taking the terminal using the following command and press enter.
cd /home/mca/android-studio/bin
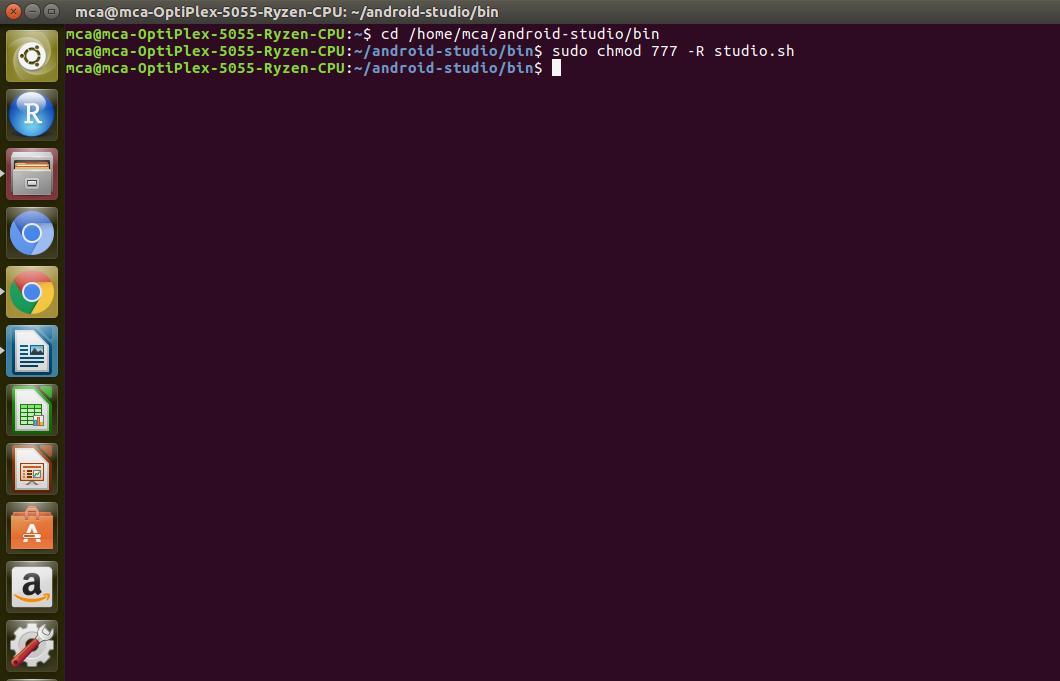
After changing the directory execute the following command for giving permissions to the folder
sudo chmod 777 –R studio.sh
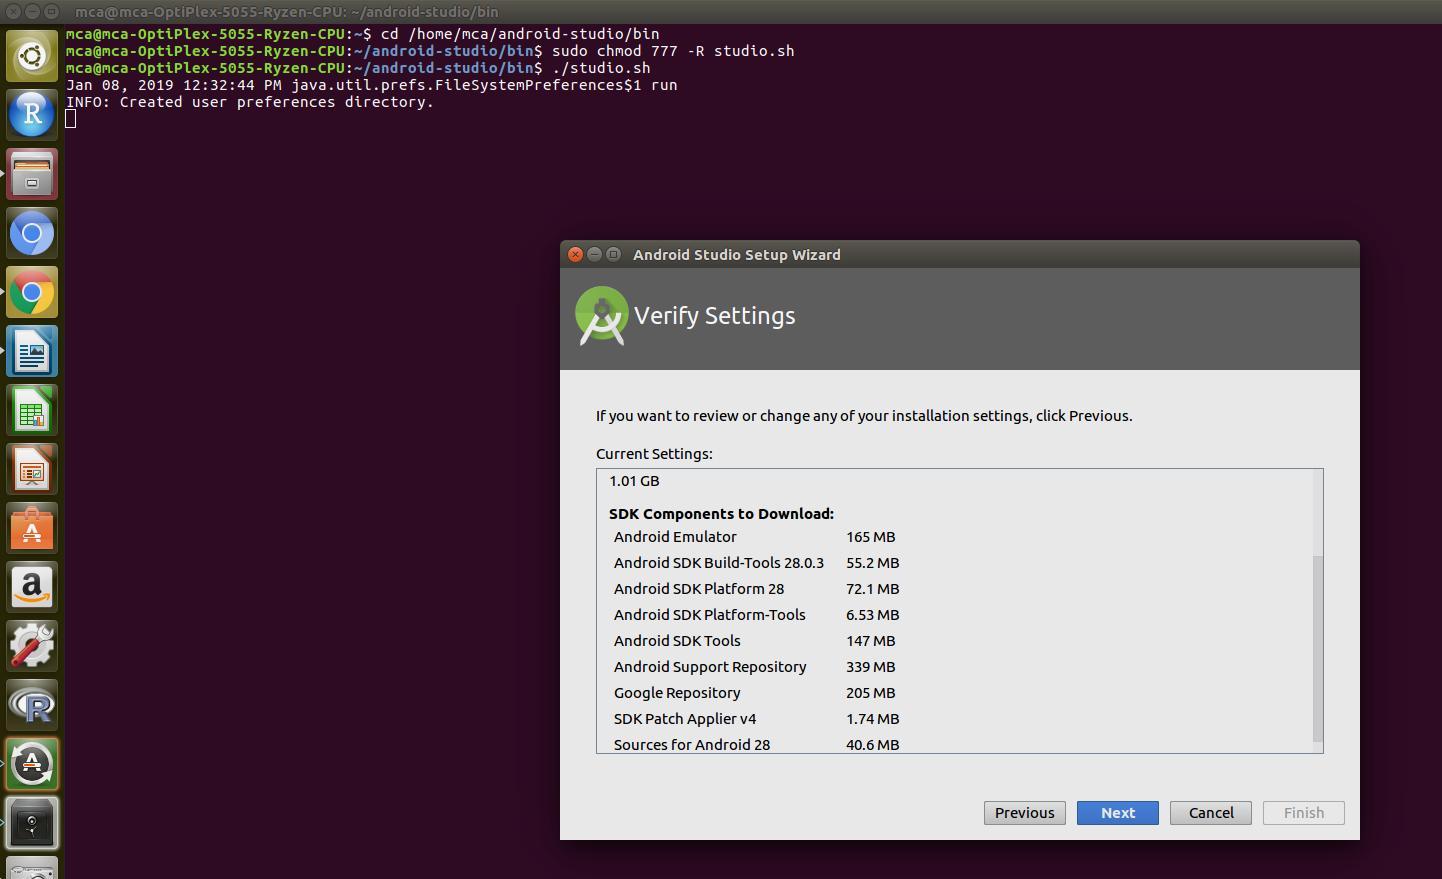
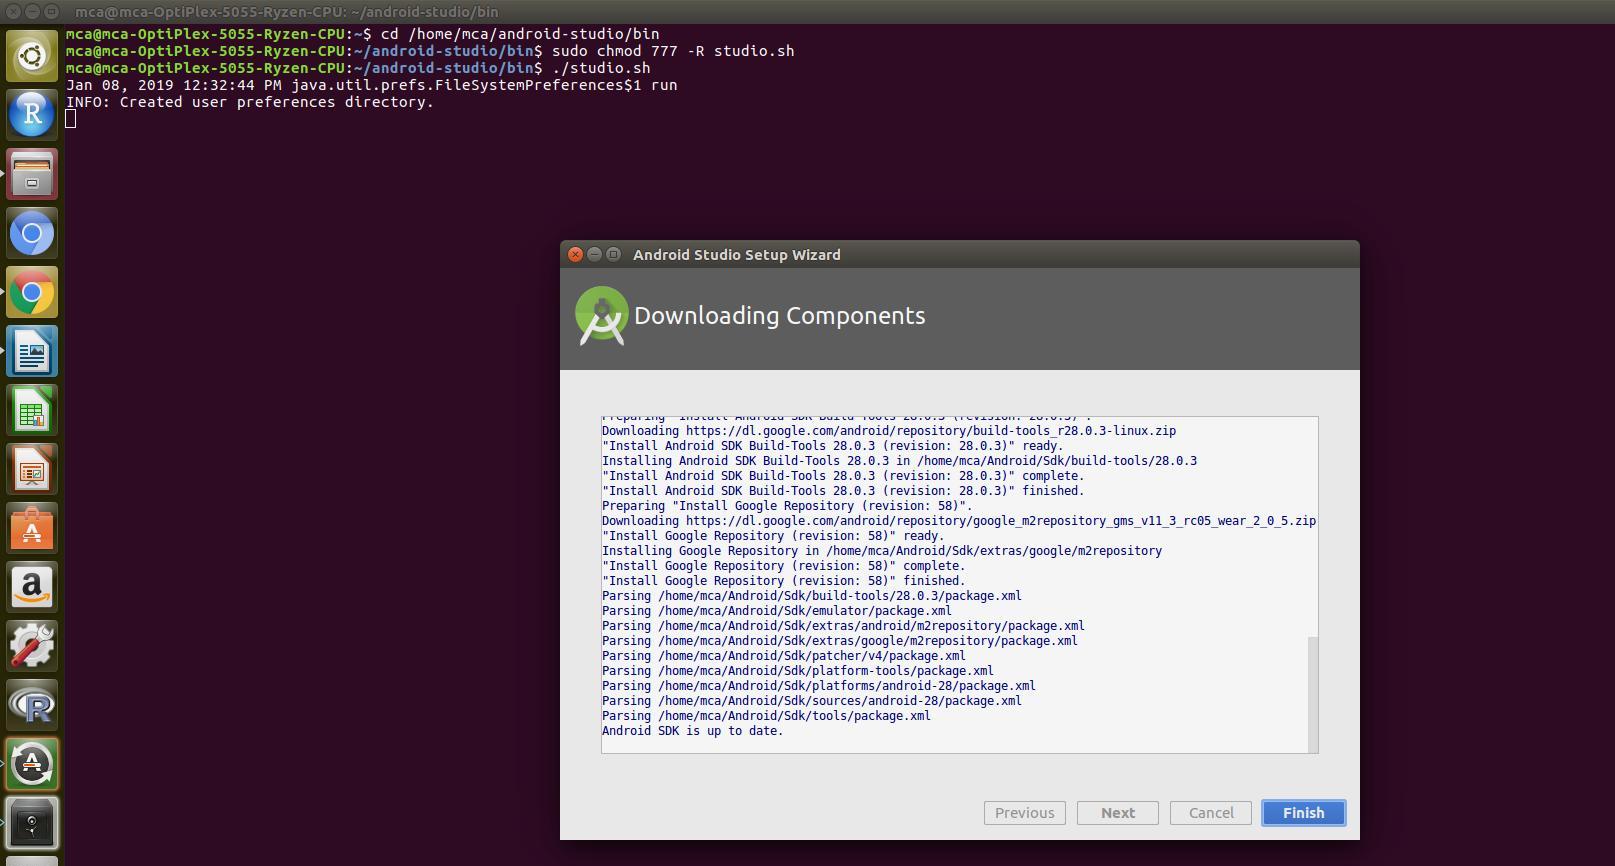
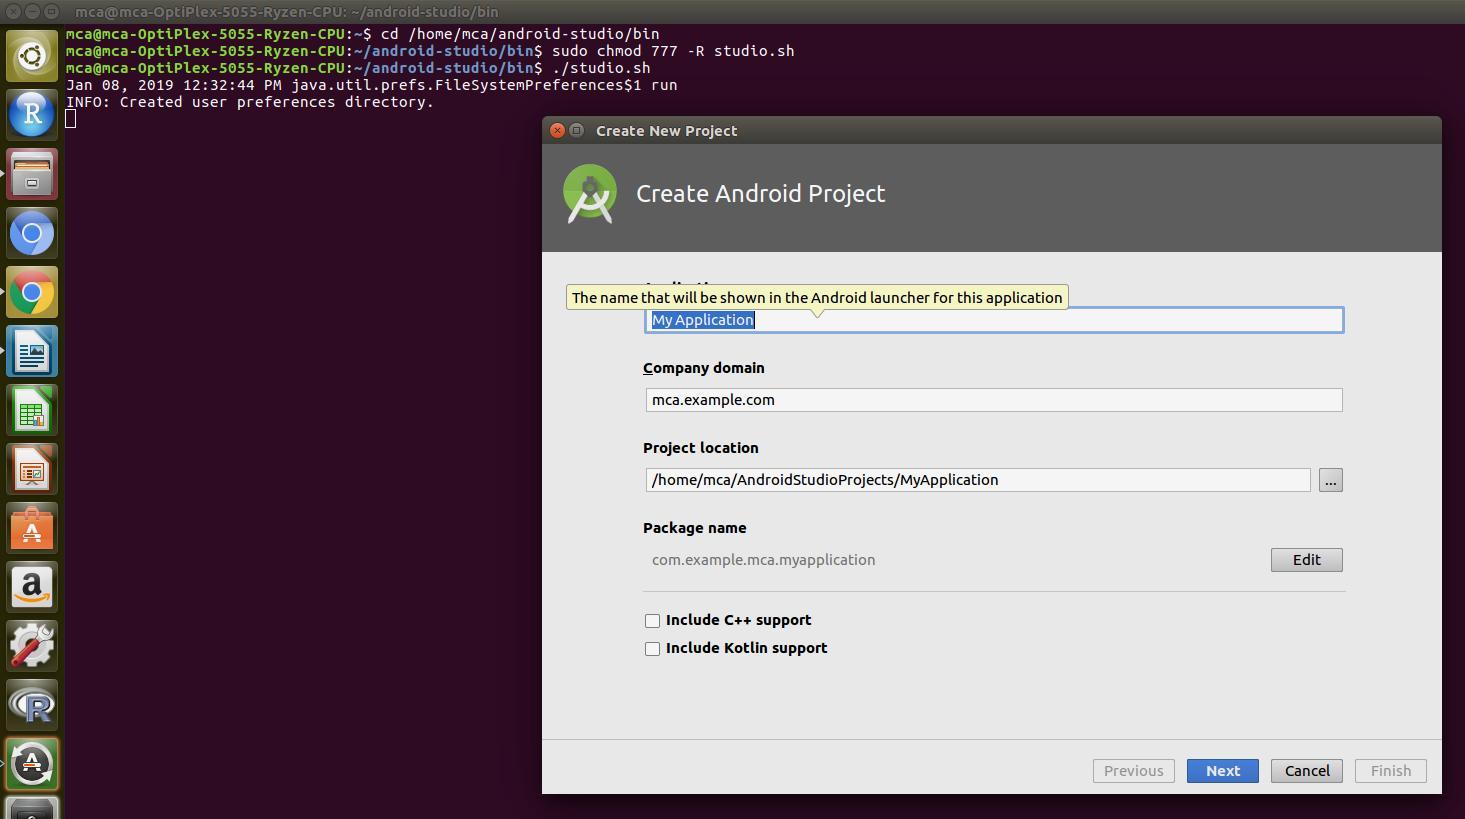
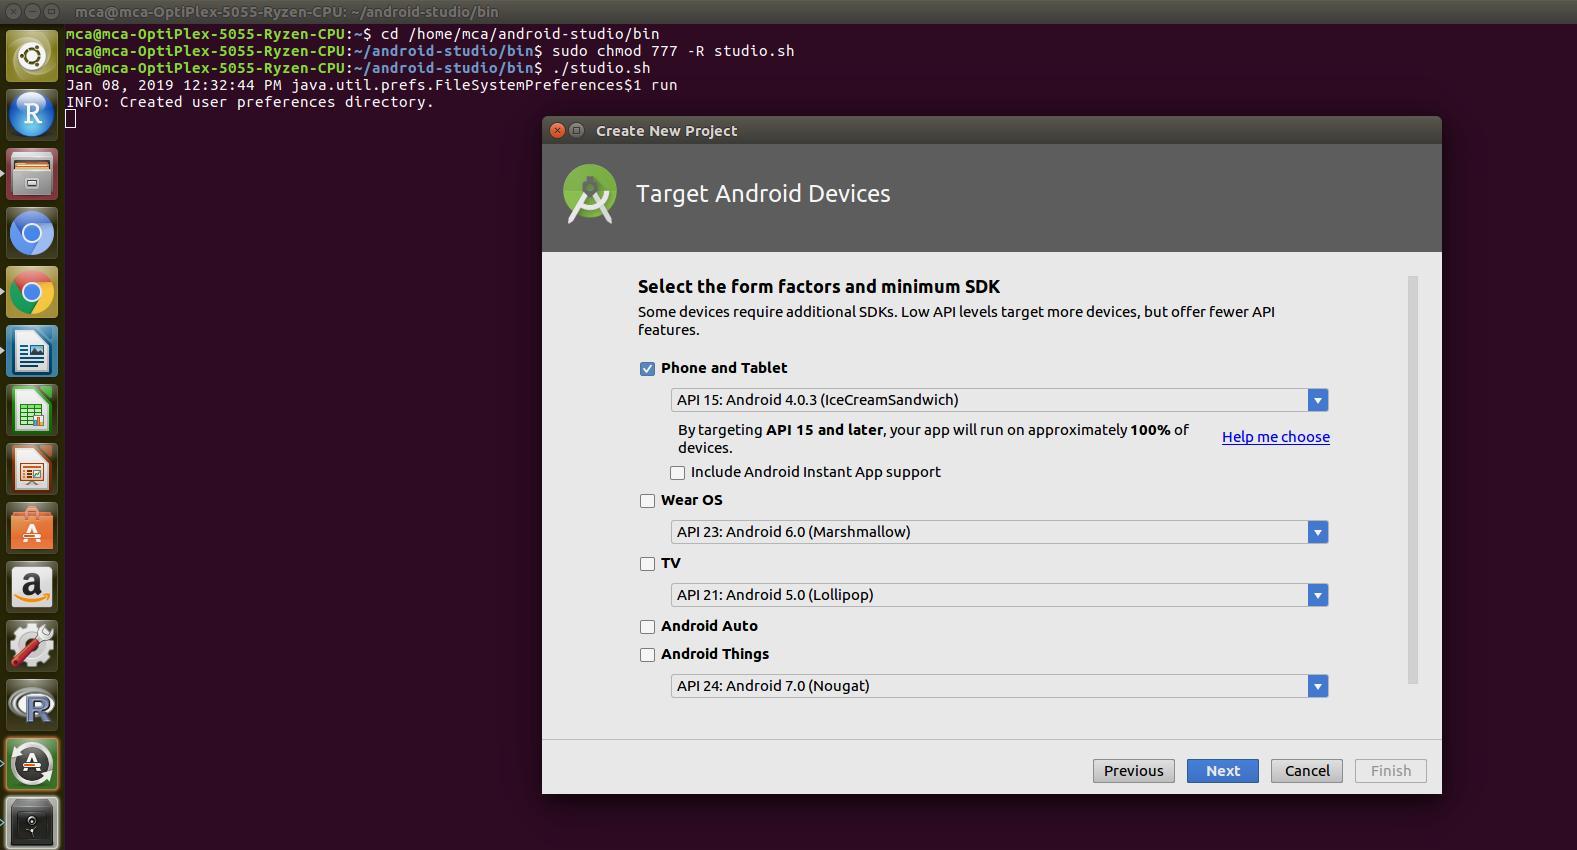
Next step is to run the shell program for installing the Android studio by executing the command
./studio.sh




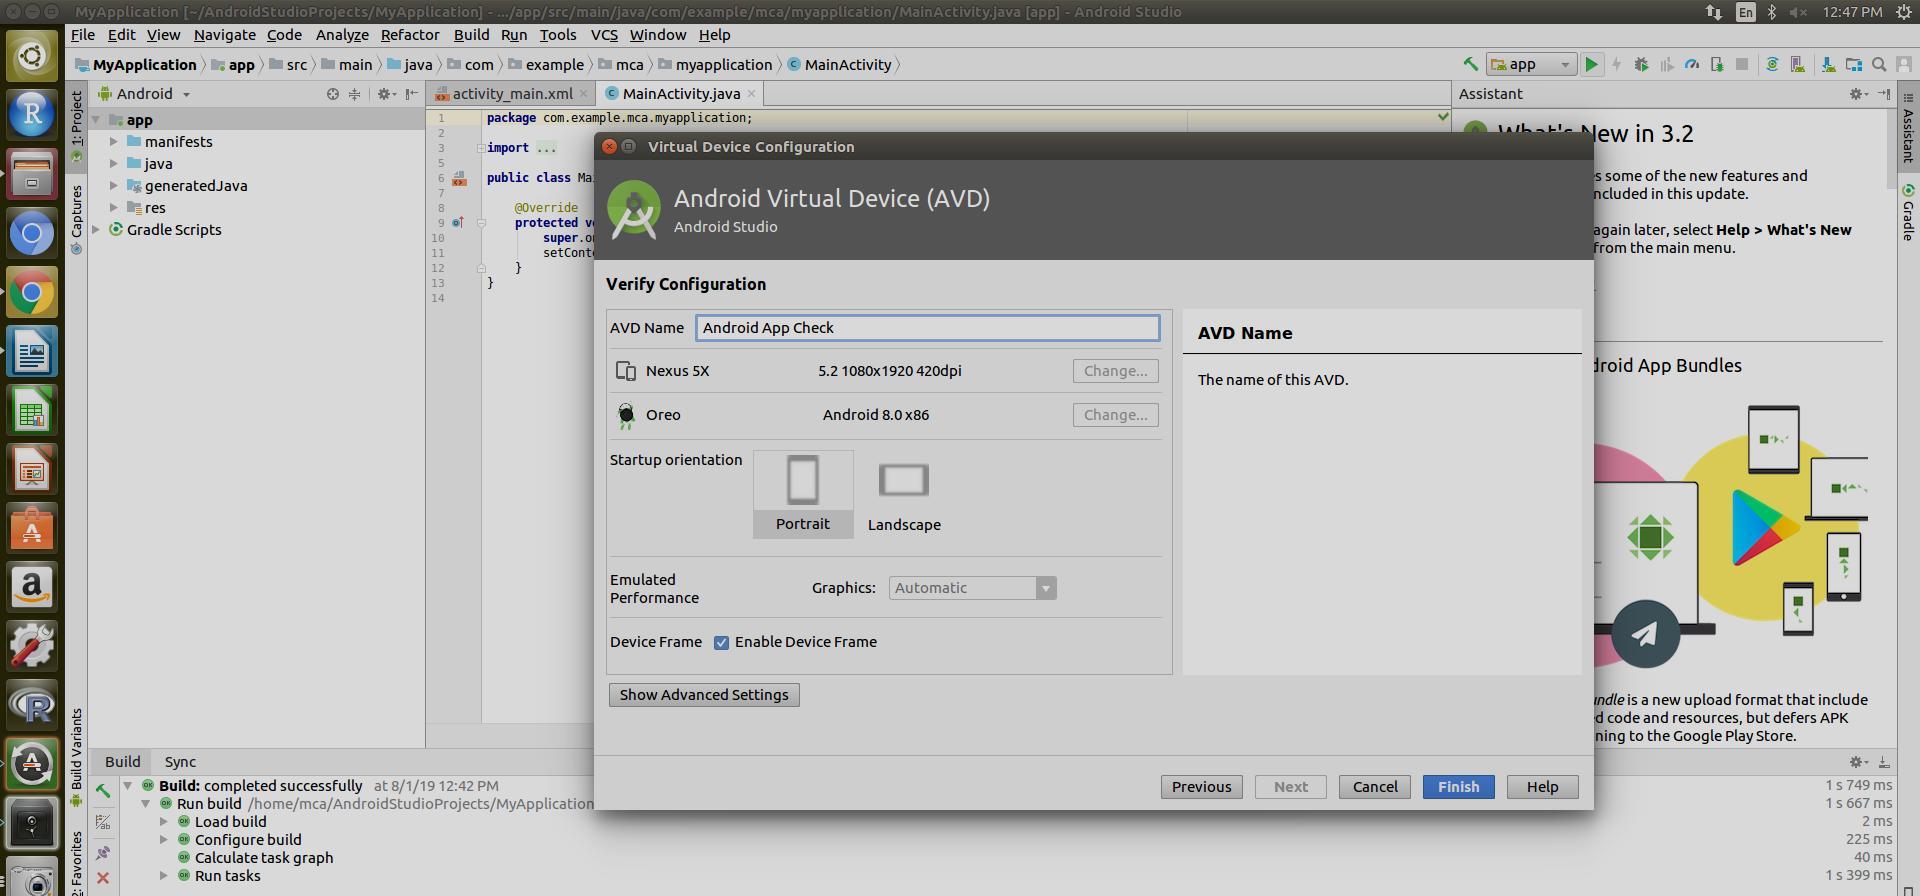

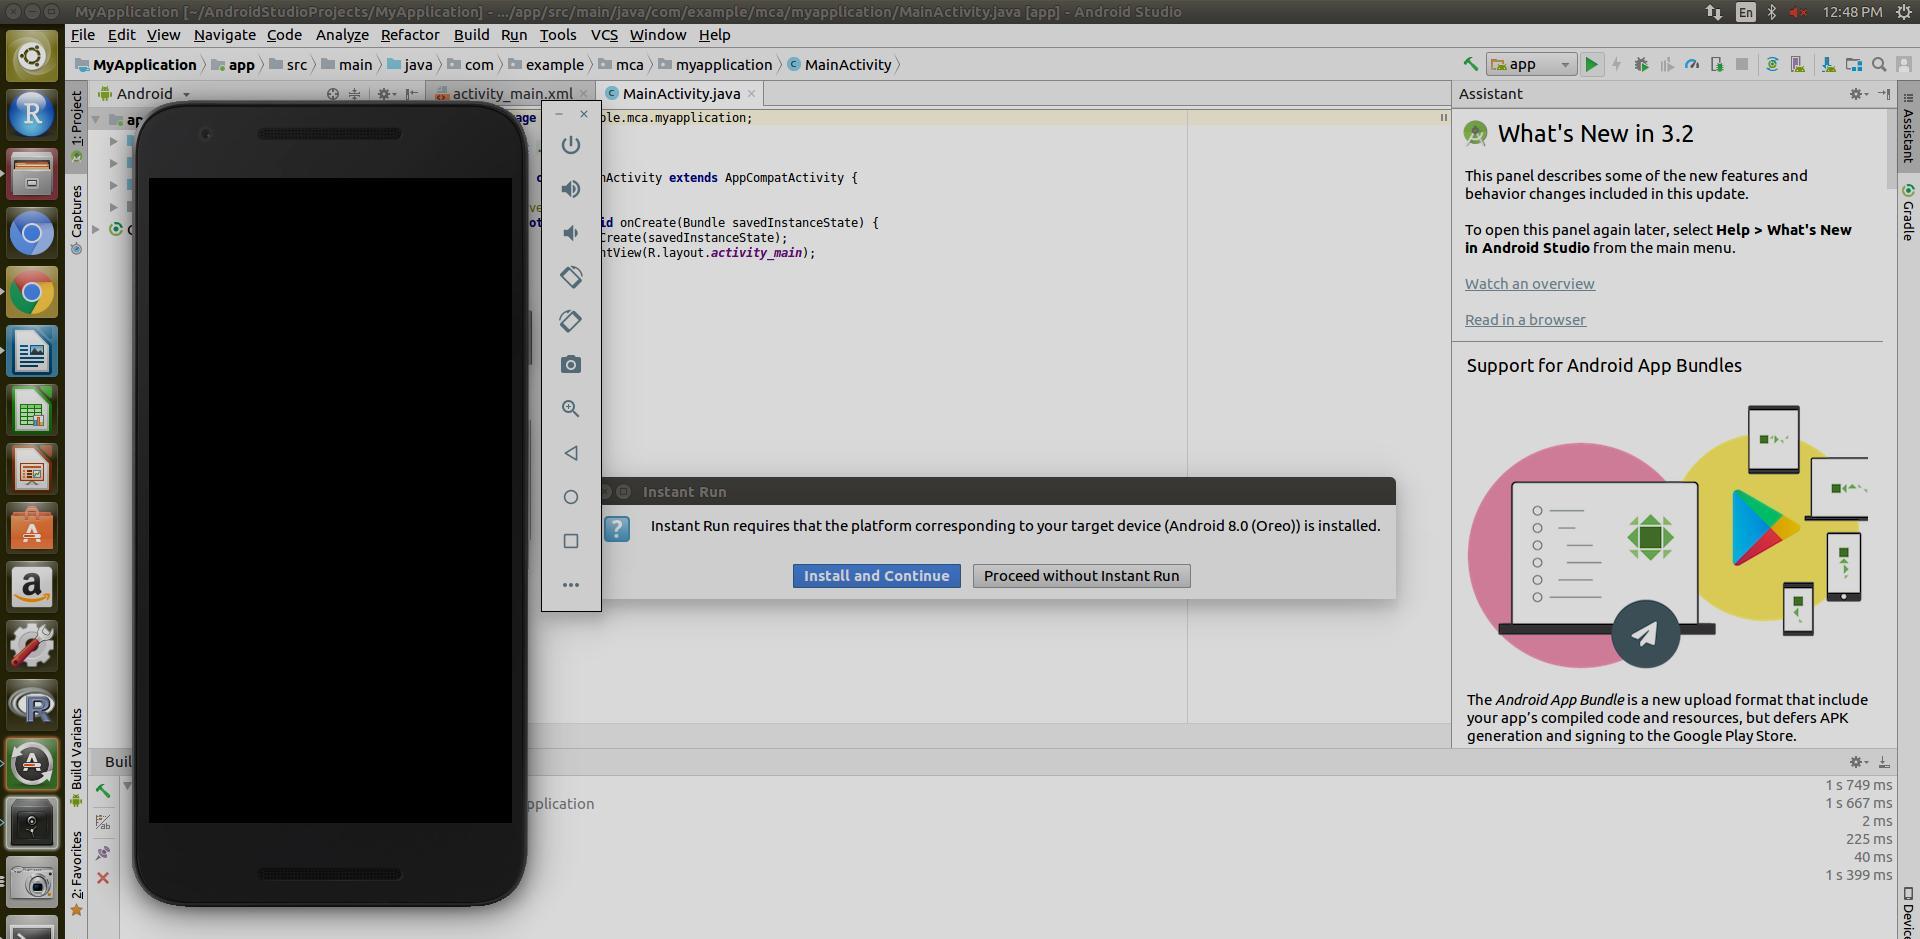
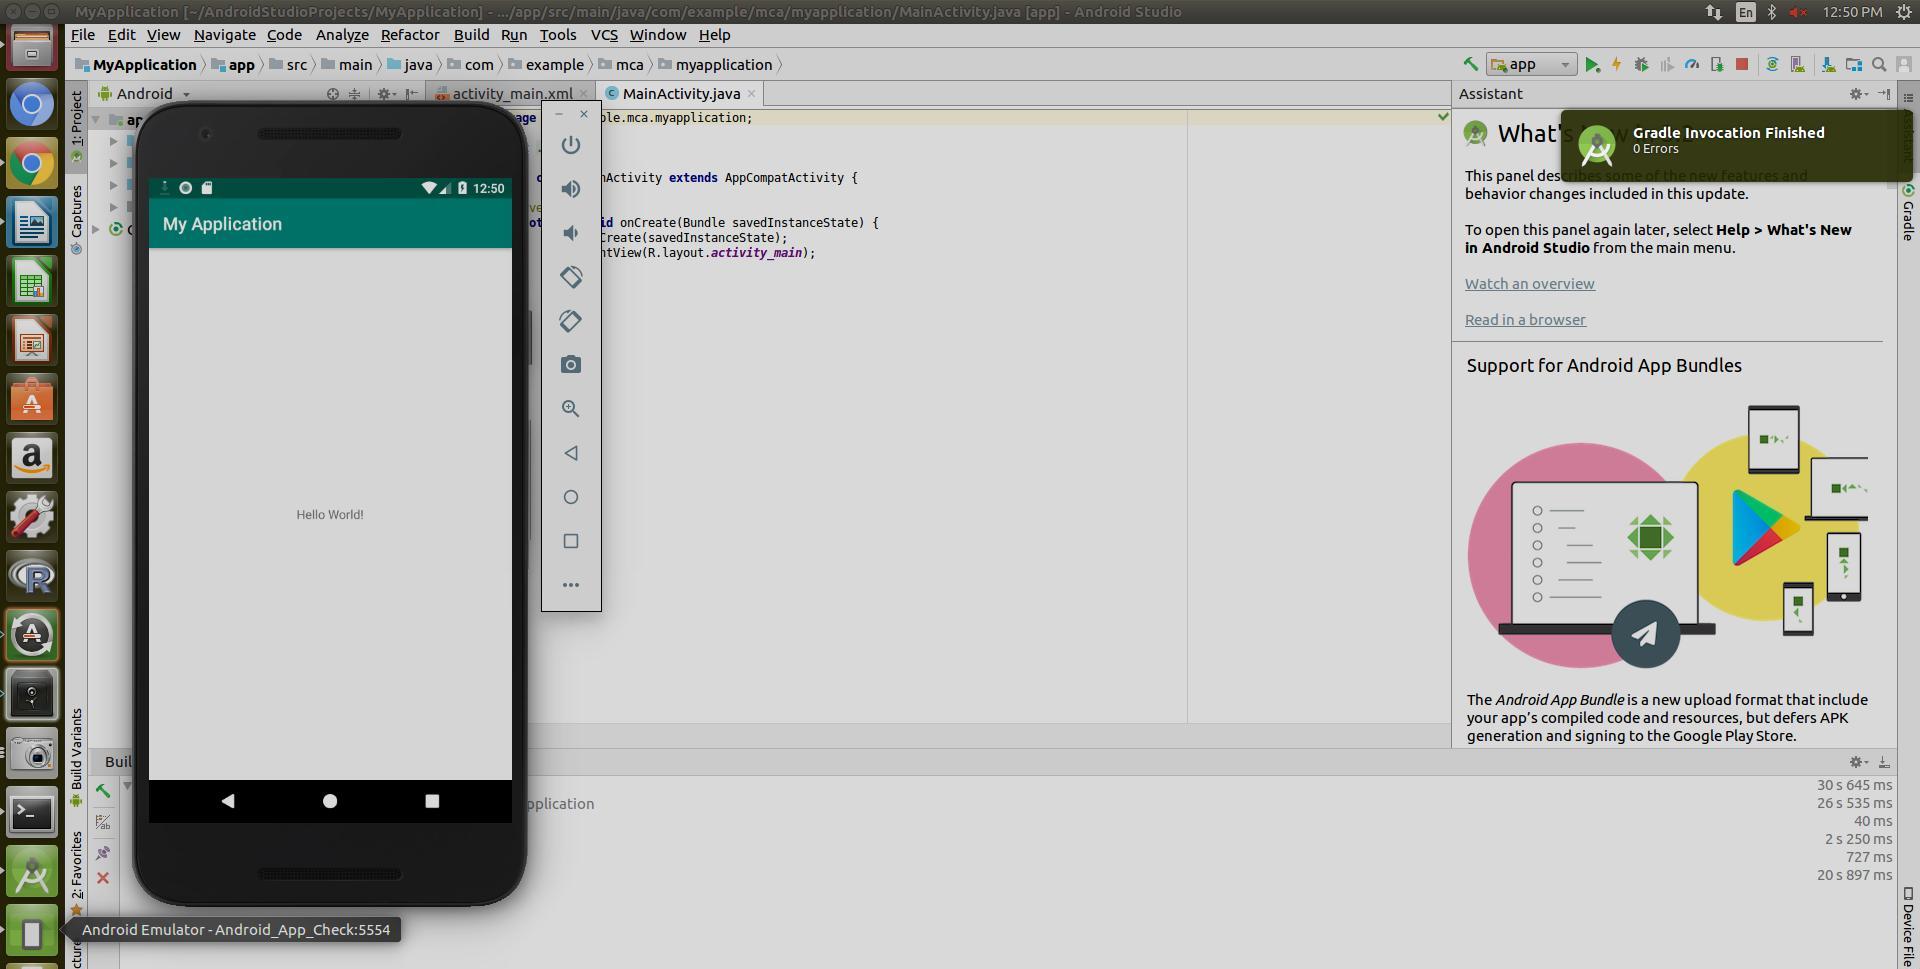



5 Replies to “Steps to install Android studio in Ubuntu or command to Install Android Studio in Ubuntu”