
JSON is used to send data to and from the server in text format. JSON stands for JavaScript Object Notation. Sending and receiving data between client and server should be as fast as possible. JSON is used by many programming language like perl, php, java etc since it is language independent. Primary use of JSON is to transfer data between server and web application. Read and write operations using JSON is very simple. Most of the programming languages using JSON as the data format for sending data to the server and receiving data from the server. JSON and XML both are used for data exchange but compared to XML, JSON is fast. JSON values are send and receive in key-value pair form. Each value should have a name to access in both ends.
The following link has detailed explanation about JSON visit this site: https://www.w3schools.com/js/js_json_intro.asp .
Sample Program of JSON for Sending and Receiving JavaScript Object using GET method is already discussed in this link : https://codeunplug.com/get-method-to-send-and-receive-javascript-object-using-json/
POST Method to Send and Receive JavaScript Object using JSON
Data Exchange
Data exchange between server and web application is fast if the data exchange format is in the form of text. In JSON first the JavaScript object is converted into JSON text and sends it to the server. At the server side, server converts the JSON text back to the JavaScript object.
JSON Object
var jsonObj = {“name” : “Chetan Bhagat”,”age” : “30”,”website” : codeunplug”};The above text create the object called ‘jsonObj’. The values are appeared in key-value pair. To access the information about the JSON object, for example document.writeln(“The name is: ” + jsonObj.name);// output would be Chetan BhagatWe can also create JSON Object in the following form, var students = [{ “name” : “Ram”, “age” : “20”, “gender” : “male”},{ “name” : “Clint”, “age” : “30”, “gender” : “male”},{ “name” : “Jeny”, “age” : “25”, “gender” : “female”}];
To access the information from this array, we do write the code like this:
document.writeln(students[0].age); //output would be: 20
To Send JavaScript Object
Here the data is send using POST method. The default method of sending data to the server is GET. Before sending data to the server from the web applications convert the data in the form of JSON text and send it to the server.
Program for sending JavaScript Object
jsonsend.php
 <!DOCTYPE html>

<html>

<body>

<h1>Convert a JavaScript object into a JSON string, and send it to the server Using POST Method.</h1>

<table>

<tr>

<?php

echo "<tr>";

echo "<td>";

echo "<form action='jsonreceive.php' method='post' onSubmit='return submitJArray(this);'></br>";

echo "<input type='submit' id='submit' name='submit' value='Click Here To Pass JSON Text Using POST' ></br>";

echo "</td>";

echo "</tr>";

?>

</tr>

</table>

<script>

var students = [{

"name" : "Ram",

"age" :  "20",

"gender" : "male"

},

{

"name" : "Clint",

"age" : "30",

"gender" : "male"

},

{

"name" : "Jeny",

"age" : "25",

"gender" : "female"

}];


var myJSON = JSON.stringify(students);

var submitJArray = function(frm)

{

var jobj = document.createElement('input');

jobj.type  = 'hidden';

jobj.name  = 'jobj';

jobj.value = myJSON;

frm.appendChild(jobj);

}

</script>

</body>

</html>
The design page of ‘jsonsend.php’ would be in the form as shown below.
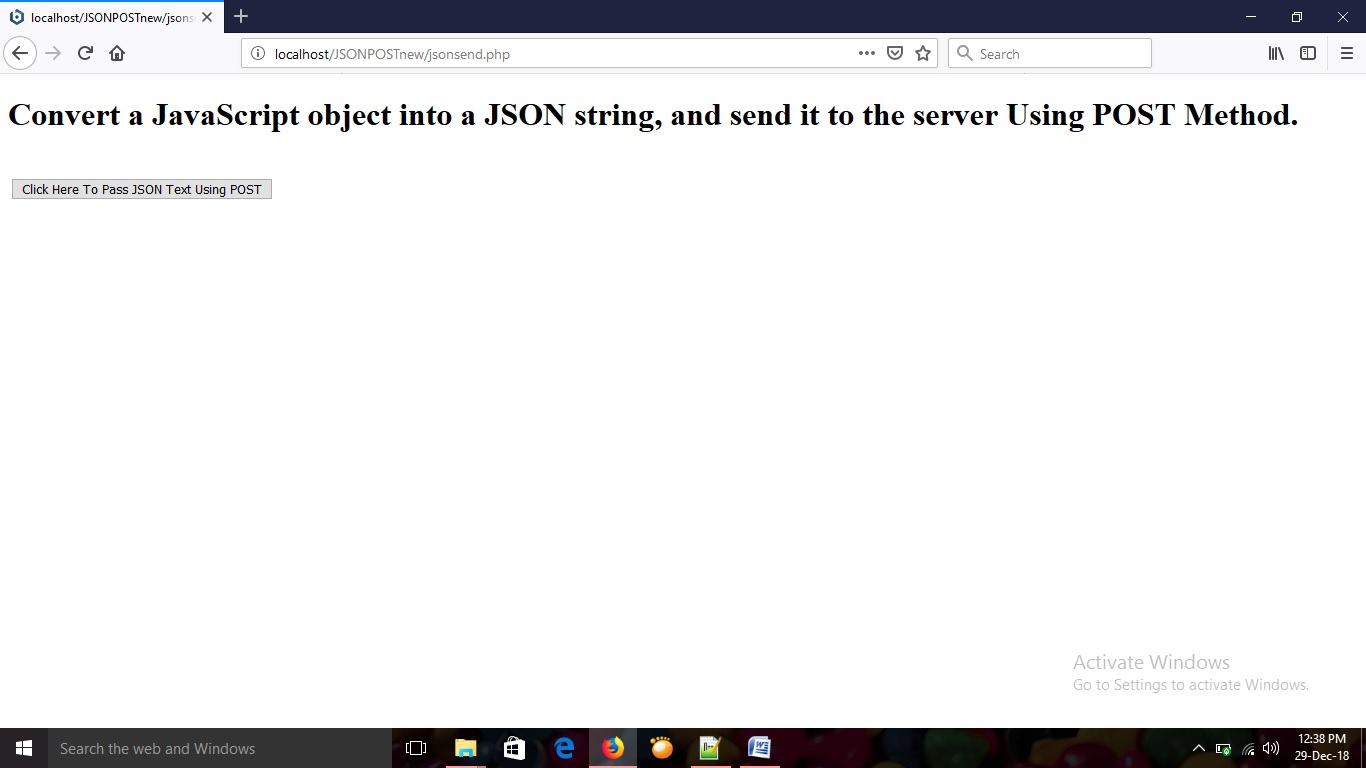
When you click on th button named ‘Click Here To Pass JSON Text Using POST’ an onSubmit event is fired. Up on submit the form submitJArray(this) function is called. In submitJArray(this) function an input control is created and attached the JSON text already converted from the JavaScript object to the ‘value’ attribute of input control created. Finally attached the input control created in the submitJArray(this) function to the current object of our web application using the method frm.appendChild(jobj). This input control named jobj (jobj.name = ‘jobj’) is submitted to the ‘jsonreceive.php’ page ( specified in the action attribute) when you click on the button named ‘Click Here To Pass JSON Text Using POST’.
Method to convert JavaScript object to JSON text ?
By using method stringify
var myJSON = JSON.stringify(students);
Receiving JavaScript Object
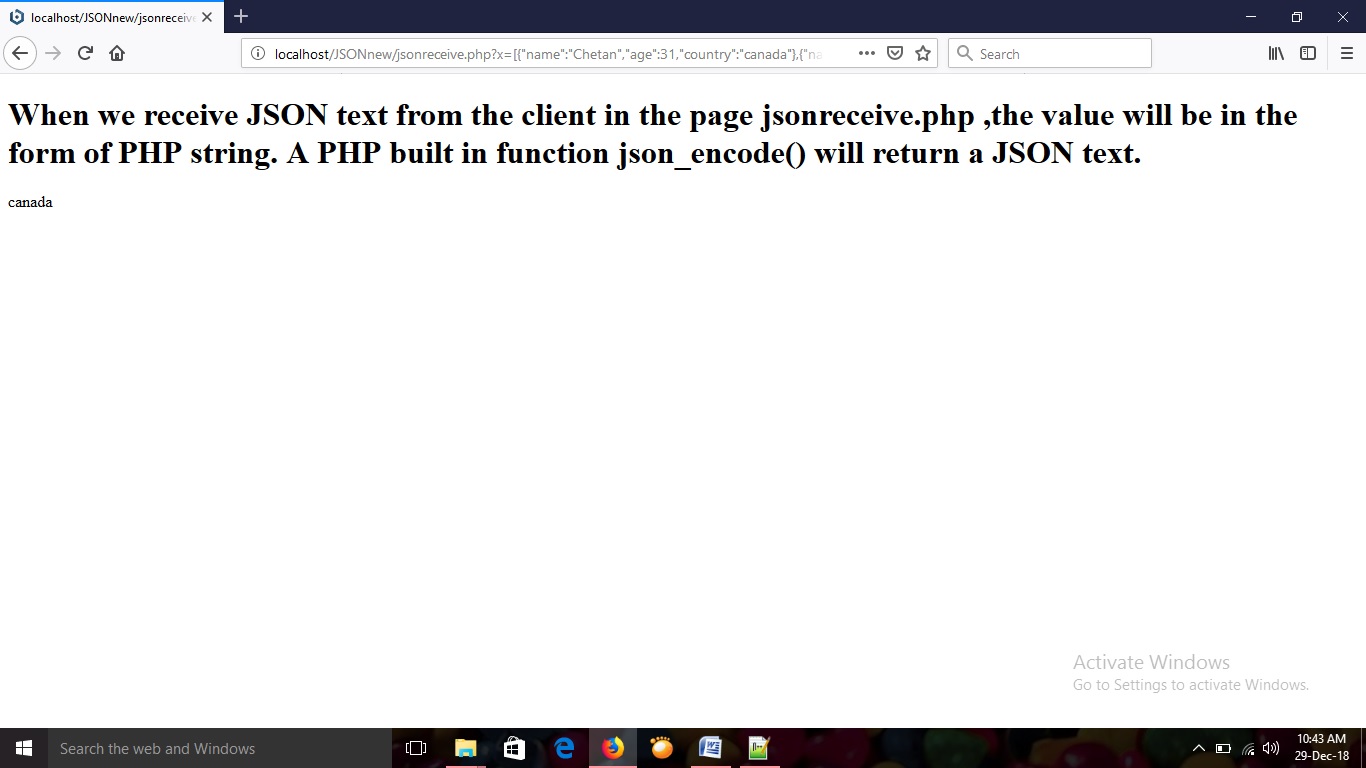
The page that receives JSON text from jsonsend.php page is jsonreceive.php .The value it receives will be in the form of PHP string. A PHP built in function called json_encode() is used here to return the JSON text.
var myJSON = <?php echo json_encode($myjson);
The JSON text is converted to JavaScript object is by using JSON parser.
var myObj = JSON.parse(myJSON);
Program for receiving JSON Text
jsonreceive.php
<?php
$myjson=$_POST['jobj'];
?>
<!DOCTYPE html>
<html>
<body>
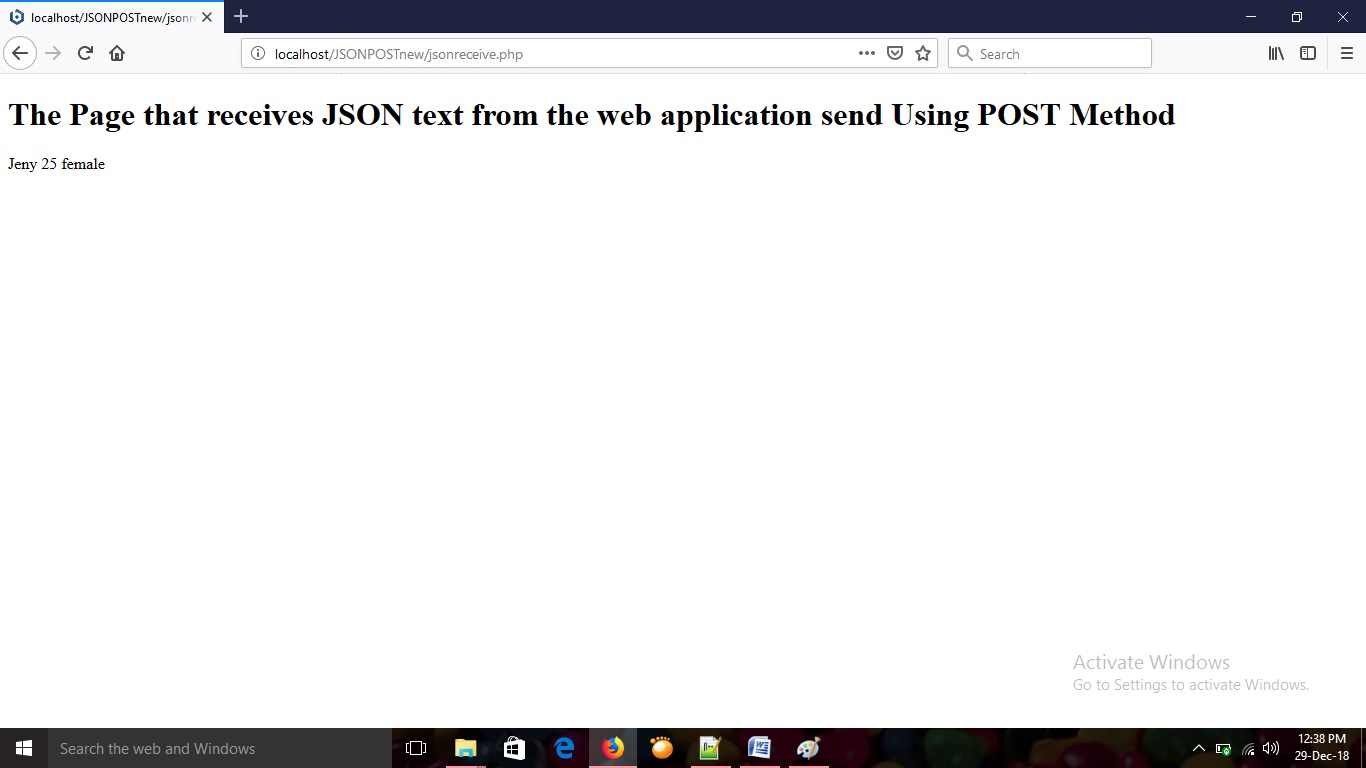
<h1>The Page that receives JSON text from the web application send Using POST Method</h1>
<p id="p1"></p>
<script>
var myJSON = <?php echo json_encode($myjson); ?>;
var myObj = JSON.parse(myJSON);
document.getElementById("p1").innerHTML = myObj[2].name+" "+myObj[2].age+" "+ myObj[2].gender;
</script>
</body>
</html>
Keep both files jsonsend.php, jsonreceive.php in the root directory of PHP (www folder). Details about root directory , please visit this link : https://codeunplug.com/how-to-install-php-in-ubuntu/ .
JSON methods are listed in https://www.tutorialspoint.com/json/json_overview.htm .
First load the jsonsend.php in the browser (localhost/jsonsend.php), it will redirect the data in the jsonsend.php is to the jsonreceive.php page and you can see the result as shown below. The object student is used to display name, age and gender of each individual is displayed in the page.

One Reply to “POST method to Send and Receive JavaScript Object using JSON”