
Do you have any idea to install and configure PHP in Ubuntu ? This is a tutorial for anyone who interested in PHP coding. This tutorial helps you to build your base with PHP. This tutorial is a perfect way to how to install PHP in Ubuntu.
As you all know the PHP Hypertext Preprocessor (PHP) is a programming language that allows programmers to create dynamic content. PHP is basically used for developing web applications.
PHP is a server-side scripting language.
PHP is a powerful tool for making dynamic Web pages.
PHP is open source, a widely-used language in the technology field.
This tutorial is mainly designed for beginners guide how to install PHP in Ubuntu with little or no PHP experience.
How to install PHP in Ubuntu
Step 1: Install Apache
The Apache web server is one of the most popular web servers in the world. It’s well-documented, and has been in wide use for many of the history of the web, which makes it a best choice for deploying a website. Easy way to install Apache by using Ubuntu’s package manager, apt.
Before you start proceeding with the installation make sure that you should have internet connection in your system. Easy way to take terminal window in Ubuntu is by press alt+ctrl+T and hit enter or directly go to the search window and type terminal. Select the terminal window from your search window. We can start by typing these commands:
sudo apt-get update
sudo apt-get install apache2
Once you completed your installation as in the previous step, please check with following command type in your browser.
http://your_server_IP_address or http://localhost .
It should look something like this:

If you can see this page correctly, then your web server is now correctly installed .
Step 2 : Install PHP
Next step is to install PHP, We can start by typing these commands:
sudo apt-get install php5
To enable PHP in apache2 server, type following command in the terminal.
sudo apt-get install libapache2-mod-php5 // enable php in apache2
sudo apt-get install php5-mysql//link to establish with mysql
Step 3: Installing MySQL
To install MySQL , update the package index on your server and install the package with apt-get. Set a password for the database when you install the database.
sudo apt-get update
sudo apt-get install mysql-server
sudo apt-get install php5-mysql//link to establish with mysql
Step 4 : Setting Root Directory
Create a local repository in your home directory to store your php files.Create a folder, rename it as WWW. Change the directory name in order to link with the www folder already created in your home directory.
goto computer->etc-> apache2-> apache2.conf
<Directory /home/your-system login account name/www/>
Options Indexes FollowSymLinks
AllowOverride None
Require all granted
</Directory>
goto computer->etc-> apache2->sites-available 000-default.conf
ServerAdmin webmaster@localhost
DocumentRoot /home/ your-system login account name /www/
Step 5 : Restart/Stop Command
For restarting/stop your apache server type the following command in your terminal.
sudo service apache2 restart/stop
Step 6 : Setting phpmyadmin
We can easily use mysql server in the browser without using commands. phpMyAdmin is a free software tool written in PHP, intended to handle the administration of MySQL over the Web.
In order to create phpmyadmin, download phpmyadmin zip file from the site (https://www.phpmyadmin.net/downloads/) and copy it into www folder. Extract the zip and rename it to phpmyadmin.
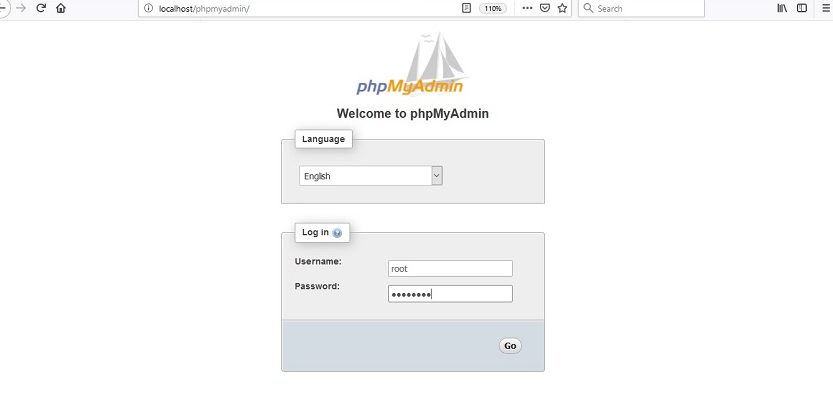
Just type http://localhost/phpmyadmin/ in your browser. When you enter the key it will shows the following wimdow. In this window you have to enter user name and password that you have created at the time of installation.
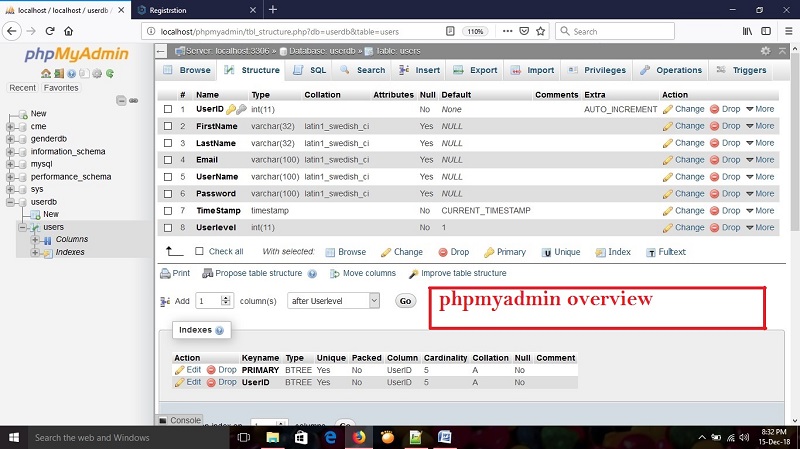
Once you typed your user name and password you will redirect the following page. In this page you can create database and tables in this page.

Step 7 : Create Sample Page to Check the Installation
In order to check whether our php code is working or not, please create a document that contains the following code and save it with extension .php. Save this file in www folder and rename the file as info.php.
//document-info.php
<?php

phpinfo();

?>
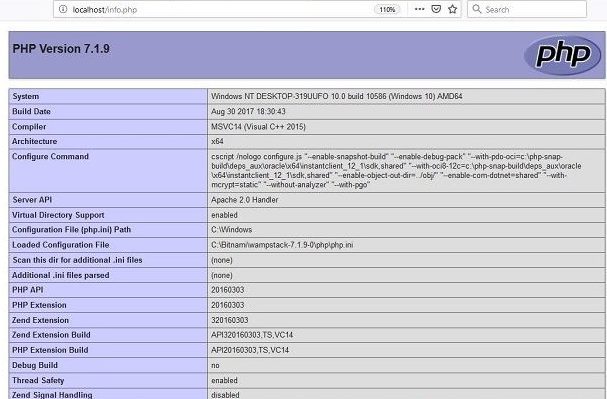
For checking your installation, type the following command in the browser url.
http://your_server_IP_address/info.php
or
http://localhost/info.php
or
http://127.0.0.1/info.php
When you type the above command in your browser you will get the following page in your browser.


11 Replies to “How to install PHP in Ubuntu”