Android RelativeLayout as the name says, position the views in the screen or in the activity with respect to the other components or relative to each other.
Android RelativeLayout is a view group that arranges the child views or UI components in relative positions. In Relative Layout, you can use attributes “above, below, left and right” to arrange the child view’s position in relation to other child view components.
Android RelativeLayout
The position of each view can be specified as relative to sibling elements or relative to the parent. RelativeLayout is the most used layout after LinearLayout in android because RelativeLayout can be used to position our views based on the relative or sibling component’s position.
We can say that android RelativeLayout is very flexible layout than any other layout in android since it can be used for custom layout designing.
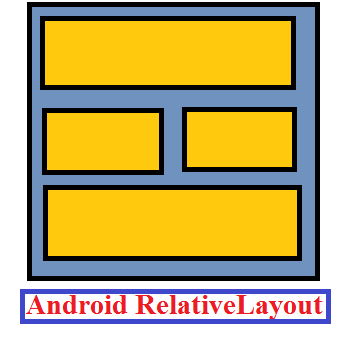
The following figure shows how relative layout looks like.

Android RelativeLayout Attributes
android:id : Defines the id of Relative layout.
android:grvity : Gravity specifies the position og object in the x-y plane. The positions are top, bottom, left, right, center, center_vertical, center_horizontal etc.
Important Attributes
android: layout_above : It position the given component above the given component ID.
android:layout_below : It position the given component below the given component ID.
android: layout_alignBottom :It aligns at the bottom of given component ID.
android: layout_alignEnd : It aligns at the end of given component ID.
android: layout_alignLeft : It position the component left to the given component ID.
android: layout_alignRight : It position the component right to the given component ID.
Example Of RelativeLayout
RelativeLayout that arranges a user login form based on different layout attributes.
activity_main.xml
<?xml version="1.0" encoding="utf-8"?>
<!--Relative Layout Is Used-->

<RelativeLayout xmlns:android="http://schemas.android.com/apk/res/android"
    android:layout_width="match_parent"
    android:layout_height="match_parent"
    android:id="@+id/relative1">

    <!--Text View for Displaying SIGN IN Text At Top of UI-->

    <TextView
        android:layout_width="wrap_content"
        android:layout_height="wrap_content"
        android:textAppearance="?android:attr/textAppearanceLarge"
        android:text="SIGN IN"
        android:id="@+id/textView3"
        android:layout_alignParentTop="true"
        android:layout_centerHorizontal="true" />

    <!--Text View for Displaying Username-->

    <TextView
        android:id="@+id/userName"
        android:layout_width="wrap_content"
        android:layout_height="wrap_content"
        android:layout_marginTop="110dp"
        android:text="UserName:"
        android:textColor="@color/colorPrimary"
        android:textSize="20sp" />

    <!--Text View for Displaying Password-->

    <TextView
        android:id="@+id/password"
        android:layout_width="wrap_content"
        android:layout_height="wrap_content"
        android:layout_below="@+id/userName"
        android:text="Password:"
        android:textColor="@color/colorPrimary"
        android:textSize="20sp" />

    <!--Edit Text for Filling Username-->

    <EditText
        android:id="@+id/edt_userName"
        android:layout_width="fill_parent"
        android:layout_height="40dp"
        android:layout_marginTop="100dp"
        android:layout_toRightOf="@+id/userName"
        android:hint="Enter User Name" />

    <!--Edit Text for Filling Password-->

    <EditText
        android:layout_width="fill_parent"
        android:layout_height="40dp"
        android:layout_below="@+id/edt_userName"
        android:layout_centerVertical="true"
        android:layout_toRightOf="@+id/password"
        android:hint="Enter Password" />

    <!--Button for Clicking after filling details-->

    <Button
        android:id="@+id/btnLogin"
        android:layout_width="wrap_content"
        android:layout_height="wrap_content"
        android:layout_below="@+id/password"
        android:layout_centerHorizontal="true"
        android:layout_marginTop="40dp"
        android:text="Login"
        android:textColor="@color/colorPrimary"
        android:textStyle="bold" />

</RelativeLayout>
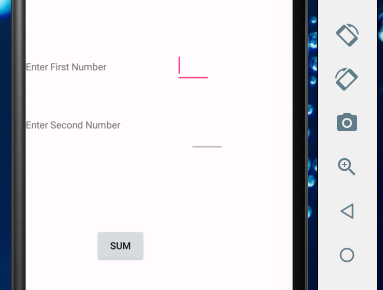
The design of the above code using Relative layout is shown below.


