
This is a simple example program for activity lifecycle in android.
Activities in the android system are handled as an activity stack. When a new activity started, it placed on the top of the stack and it becomes running activity . The previous activity remain always below the new activity in the stack. The previous activity will not come forward again until the new activity exits. The full lifecycle of an activity is specified by the following Activity methods.
     protected void onCreate();

     protected void onStart();

     protected void onRestart();

     protected void onResume();

     protected void onPause();

     protected void onStop();

     protected void onDestroy();
onCreate(): It is called when activity is created first. It always followed by onStart().
onRestart(): It is called after activity has been stopped, prior to it being started again. It always followed by onStart().
onStart(): It called when the activity is visible to the user and It followed by onResume(), if the activity comes to the foreground or onStop(), if it becomes hidden.
onResume(): It called when the activity will start communicating with the user. At this time your activity is at the top of the activity stack, with user input going to it. and Always followed by onPause().
onPause(): It is called as part of the activity lifecycle when an activity is going into the background, but has not been killed yet.
onStop(): It called when you are no longer visible to the user.
onDestroy(): This call receive before your activity is destroyed. It happened either because the activity is finishing or because the system is temporarily destroying this instance of the activity for space saving. You can distinguish between these two conditions with the isFinishing() method.
Now Let’s start coding:
First create a new android project in android studio. For that, Do the following
File->New->New Project-> Empty Activity->Give Application Name->Select minimum API Level or leave it as default. For more details see the below media.
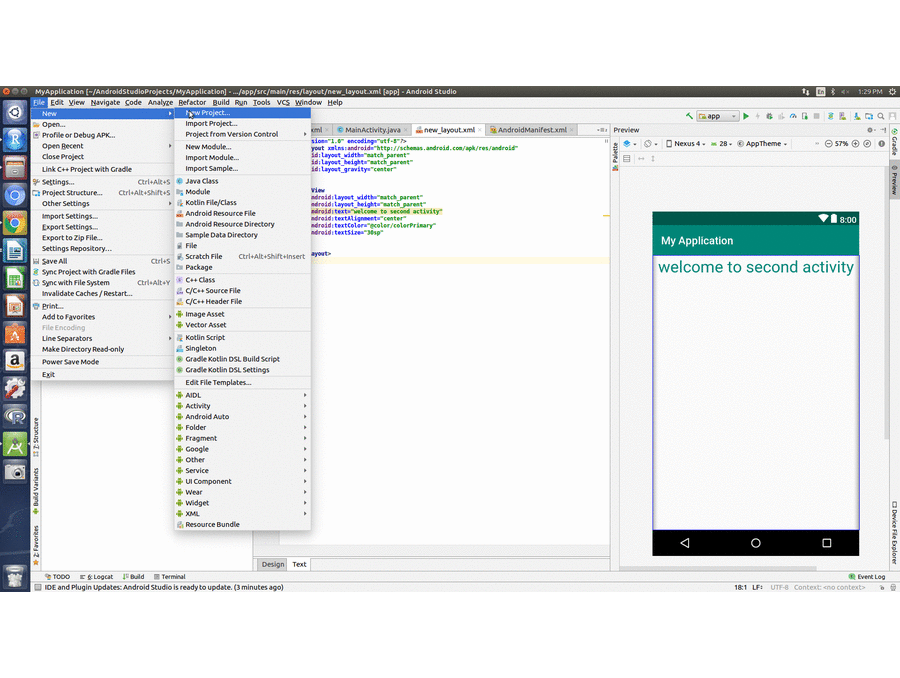
In my example papplication name is MyAppState. Activity name is MainActivity.java and layout name is activity_main.xml.
open MainActivity.java file and write the following code.
MainActivity.java
package com.example.mca.myappstate;

import android.support.v7.app.AppCompatActivity;
import android.os.Bundle;
import android.util.Log;
import android.widget.Toast;

public class MainActivity extends AppCompatActivity {

private static final String TAG = "MainActivity";
@Override
protected void onCreate(Bundle savedInstanceState) {
super.onCreate(savedInstanceState);
setContentView(R.layout.activity_main);
Log.d(TAG, "-------");
Log.d(TAG, "onCreate");
Toast.makeText(getApplicationContext(),"oncreate",Toast.LENGTH_SHORT).show();
}
@Override
public void onStart() {
super.onStart();
Log.d(TAG, "onStart");
Toast.makeText(getApplicationContext(),"onstart",Toast.LENGTH_SHORT).show();
}

@Override
public void onRestart() {
super.onRestart();
Log.d(TAG, "onRestart");
Toast.makeText(getApplicationContext(),"onrestart",Toast.LENGTH_SHORT).show();
}
@Override
public void onPause() {
super.onPause();
Log.d(TAG, "onPause");
Toast.makeText(getApplicationContext(),"onpause",Toast.LENGTH_SHORT).show();
}
@Override
public void onResume() {
super.onResume();
Log.d(TAG, "onResume");
Toast.makeText(getApplicationContext(),"onresume",Toast.LENGTH_SHORT).show();
}
@Override
public void onStop() {
super.onStop();
Log.d(TAG, "onStop");
Toast.makeText(getApplicationContext(),"onstop",Toast.LENGTH_SHORT).show();
}
@Override
public void onDestroy() {
super.onDestroy();
Log.d(TAG, "onDestroy");
Toast.makeText(getApplicationContext(),"ondestroy",Toast.LENGTH_SHORT).show();
}
}
activity_main.xml
<?xml version="1.0" encoding="utf-8"?>
<android.support.constraint.ConstraintLayout xmlns:android="http://schemas.android.com/apk/res/android"
xmlns:app="http://schemas.android.com/apk/res-auto"
xmlns:tools="http://schemas.android.com/tools"
android:layout_width="match_parent"
android:layout_height="match_parent"
tools:context=".MainActivity">

<TextView
android:layout_width="wrap_content"
android:layout_height="wrap_content"
android:text="Hello World!"
app:layout_constraintBottom_toBottomOf="parent"
app:layout_constraintLeft_toLeftOf="parent"
app:layout_constraintRight_toRightOf="parent"
app:layout_constraintTop_toTopOf="parent" />

</android.support.constraint.ConstraintLayout>
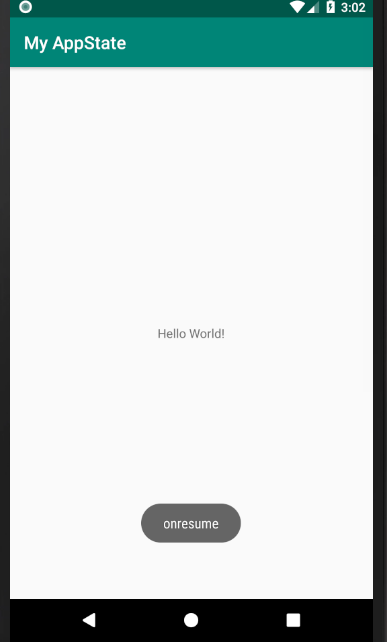
OUTPUT:
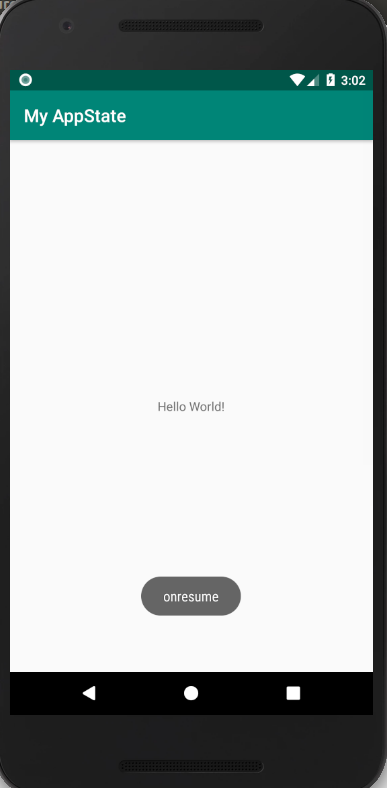
detailed output: output-simple-activity-lifecycle
For more detailed information about activity lifecycle please visit the link below.
https://developer.android.com/guide/components/activities/activity-lifecycle#java


One Reply to “A Simple Android Activity Life-cycle Program”